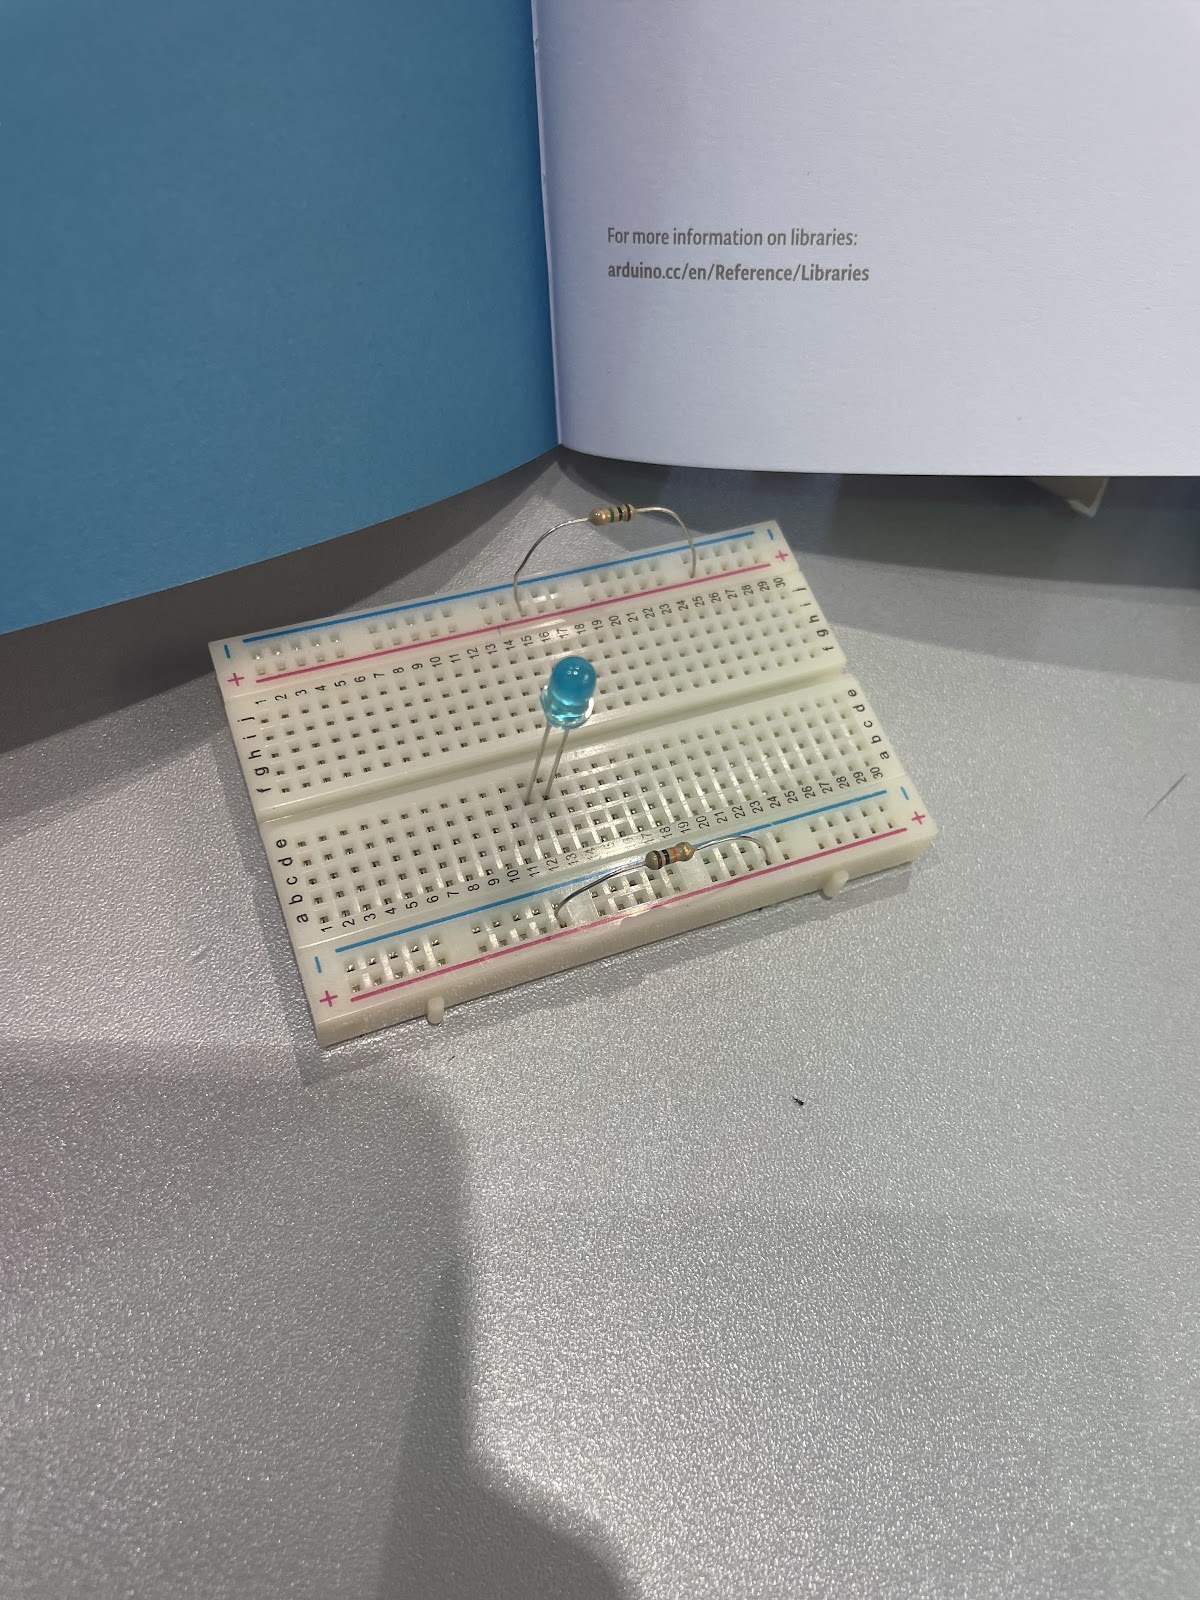
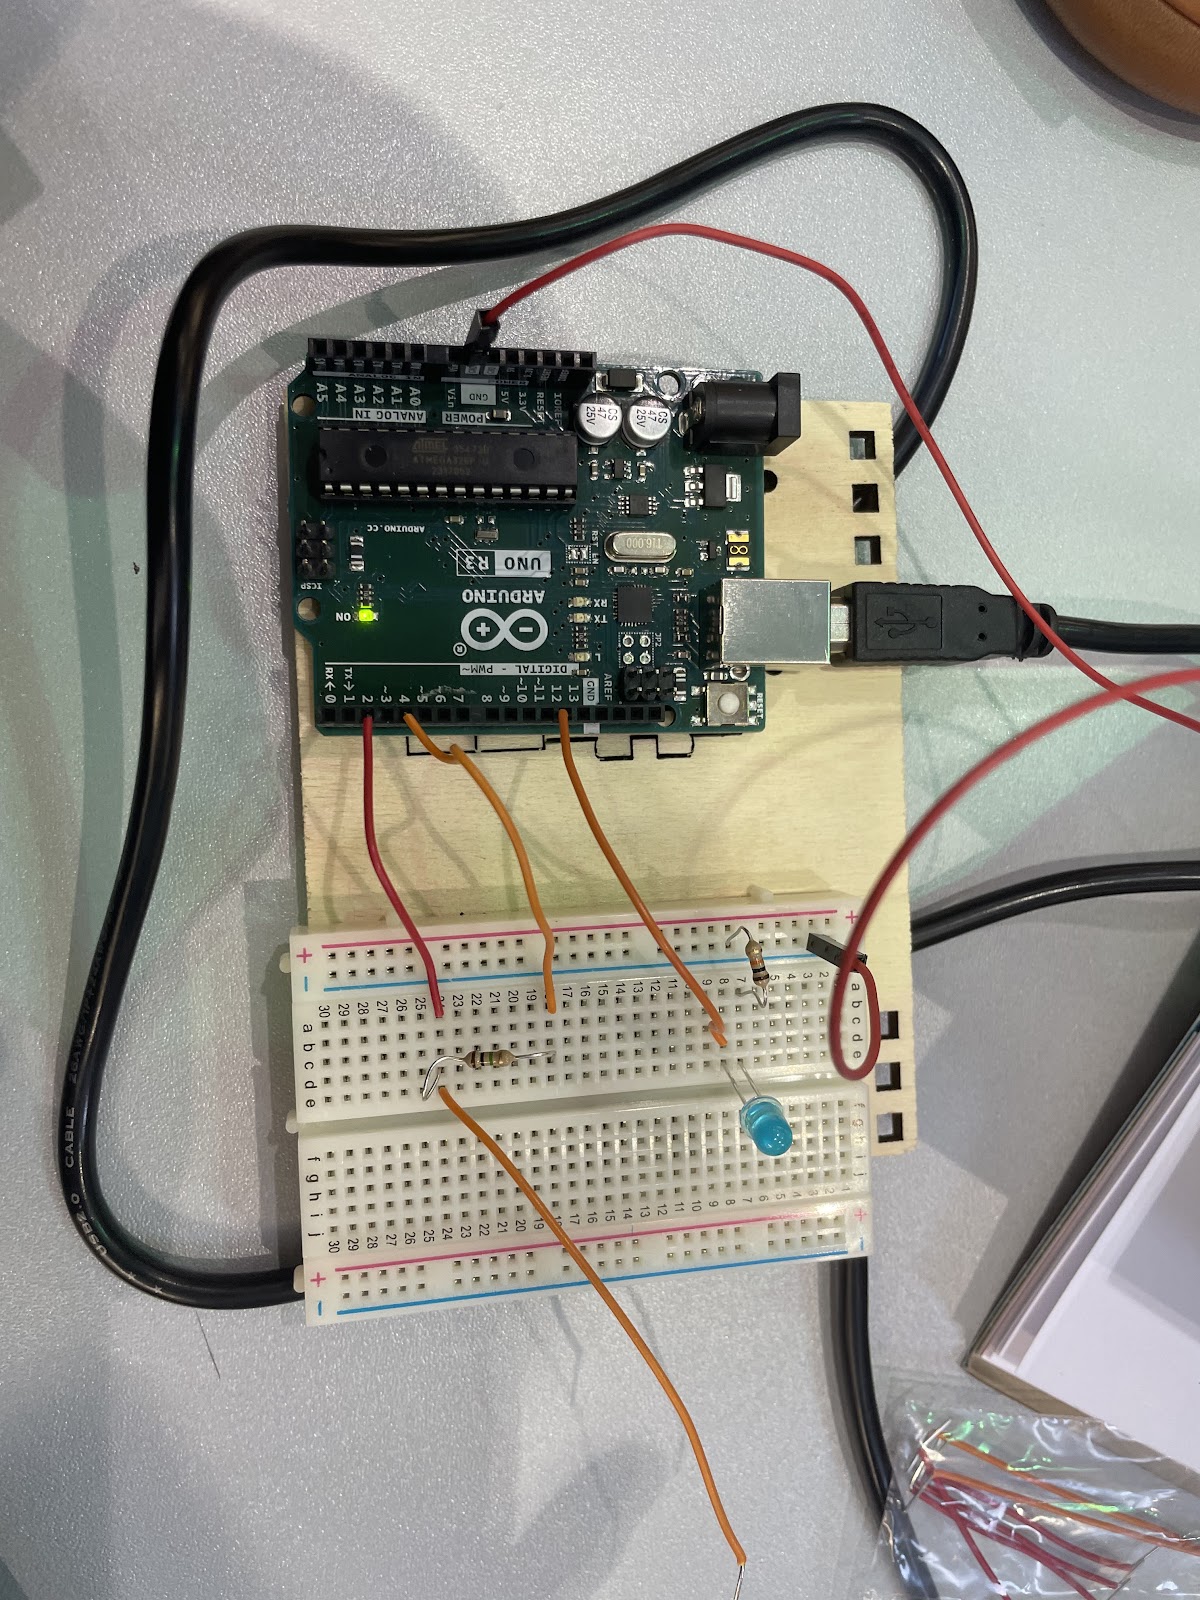
Robotics Blog post

10/21/2024

Here, I’ll walk through my experience with following the “Touchy Feely Lamp” project on the arduino kit starter projects book

I gathered up all of my materials, and then downloaded the CapacitiveSensor library in order for the code to work properly. 
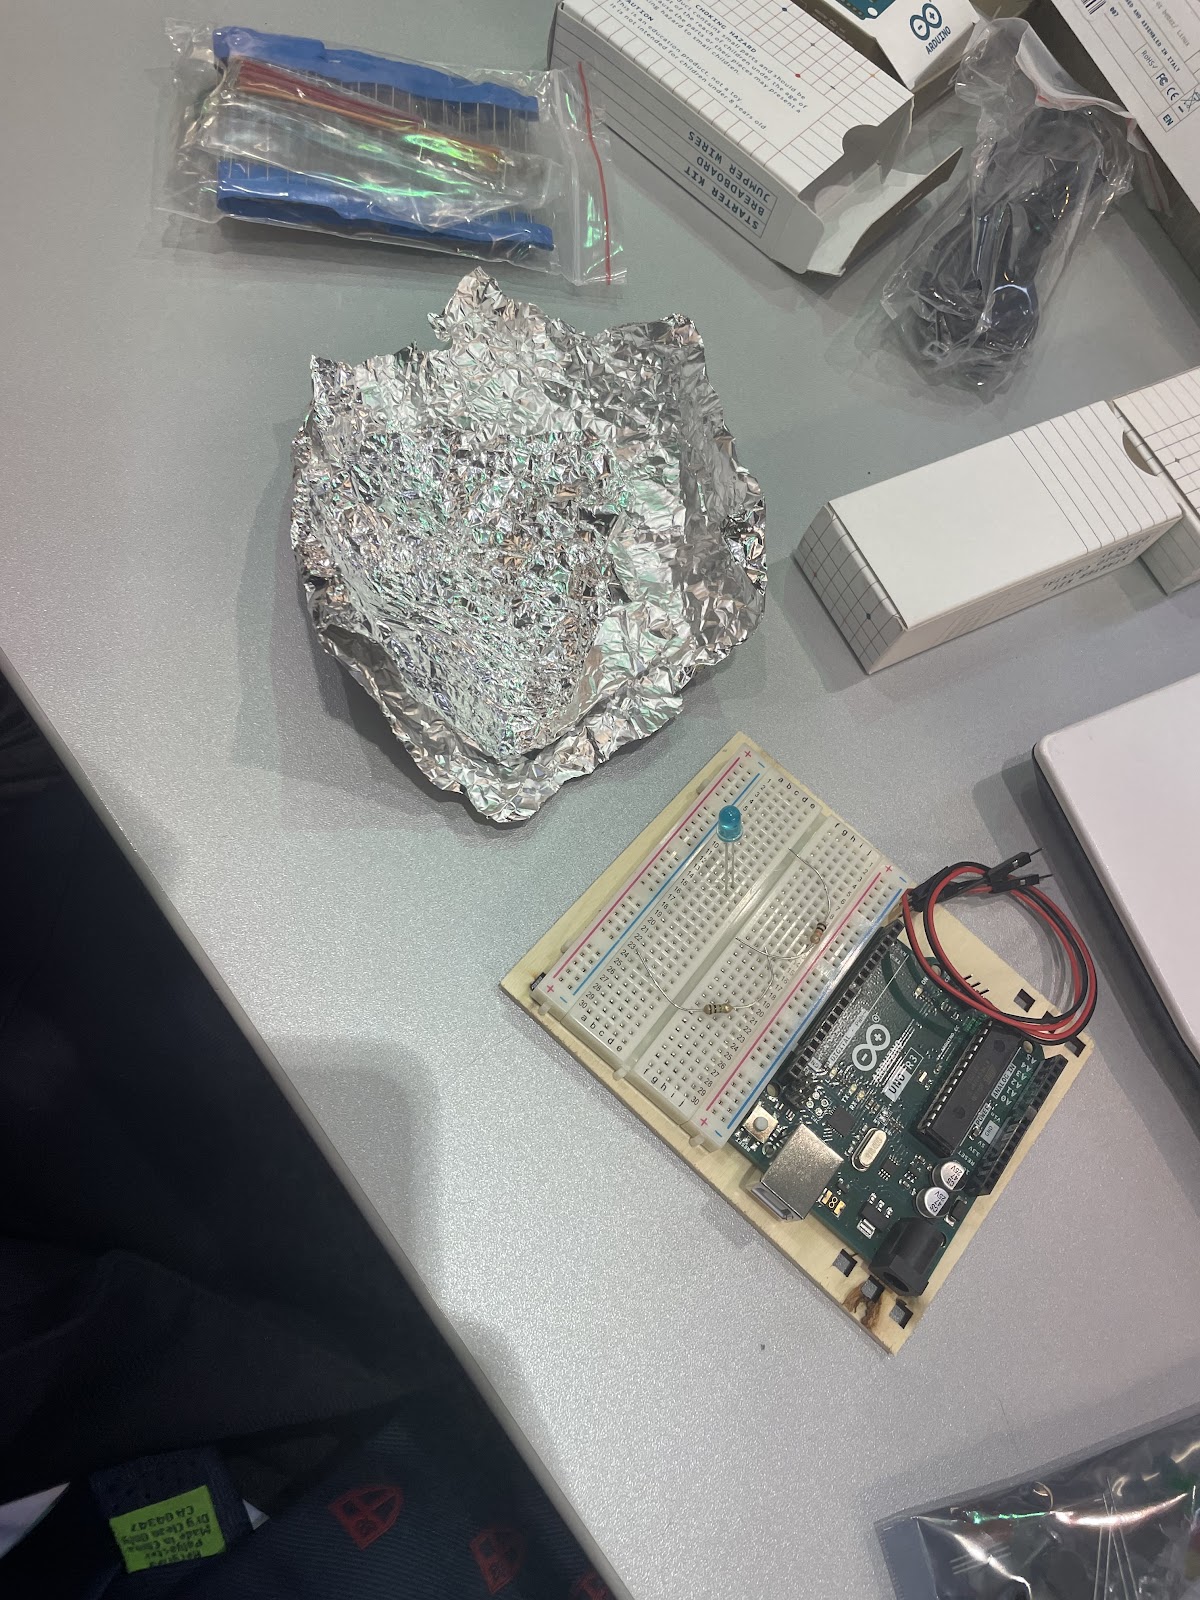
The library checks the two pins on our arduino – and when a part of my body (fingers) touches the object, it will absorb the charge and make it take longer for the two pins to be the same. The program will then measure the capacitance and turn on the LED.

Here is a video of it in action!
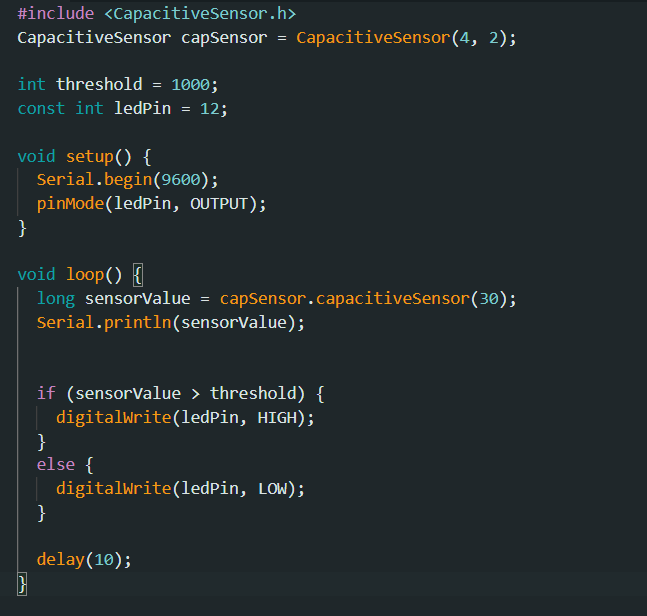
RAW CODE PASTEBIN


Comments

4 responses to “Robotics Blog post”

  1. mcrompton Avatar
    mcrompton

    Wow, Vincent. That has got to be the shortest blog post ever. Not that length is the measure of quality, but you have kept things on a very “need to know” level. I wonder what arduino experience you brought to this project? What did you learn in the process? How might you apply what you learned to a future project? Please reply in the comments below.

    1. vzhao27 Avatar
      vzhao27

      I took robotics in both grade 8 and 9, and spent an entire term learning Arduino during my grade 9 semester of robotics. From both grades, I had already gathered a basic knowledge of C++ from Arduino and Vexcode pro, in which I built a rotating knee taper, and a eye level water sensor with materials and guidance from Bilykh. In this process, I learnt some more about the proper wiring in Arduino, as I forgot to connect one of the wires to the ground pin so my robot initially did not work. Not that this is something new I learned, but I will take note to thoroughly check my Arduino cables after finishing my work next time, as it is always good to develop a habit of double checking your work.

  2. mcrompton Avatar
    mcrompton

    Thank you, Vincent.

  3. Frankjoign Avatar
    Frankjoign

    Equilibrado de piezas
    El equilibrado constituye un proceso fundamental en las tareas de mantenimiento de maquinaria agricola, asi como en la produccion de ejes, volantes, rotores y armaduras de motores electricos. Un desequilibrio provoca vibraciones que incrementan el desgaste de los rodamientos, generan sobrecalentamiento e incluso llegan a causar la rotura de componentes. Con el fin de prevenir fallos mecanicos, es fundamental identificar y corregir el desequilibrio de forma temprana utilizando tecnicas modernas de diagnostico.

    Metodos principales de equilibrado
    Hay diferentes tecnicas para corregir el desequilibrio, dependiendo del tipo de pieza y la intensidad de las vibraciones:

    El equilibrado dinamico – Se utiliza en componentes rotativos (rotores y ejes) y se lleva a cabo mediante maquinas equilibradoras especializadas.

    Equilibrado estatico – Se emplea en volantes, ruedas y piezas similares donde es suficiente compensar el peso en un unico plano.

    La correccion del desequilibrio – Se realiza mediante:

    Perforado (retirada de material en la zona de mayor peso),

    Instalacion de contrapesos (en ruedas, aros de volantes),

    Ajuste de masas de balanceo (por ejemplo, en ciguenales).

    Diagnostico del desequilibrio: ?que equipos se utilizan?
    Para detectar con precision las vibraciones y el desequilibrio, se emplean:

    Equipos equilibradores – Permiten medir el nivel de vibracion y determinan con exactitud los puntos de correccion.

    Equipos analizadores de vibraciones – Registran el espectro de oscilaciones, identificando no solo el desequilibrio, sino tambien otros defectos (por ejemplo, el desgaste de rodamientos).

    Sistemas laser – Se usan para mediciones de alta precision en componentes criticos.

    Las velocidades criticas de rotacion requieren especial atencion – condiciones en las que la vibracion se incrementa de forma significativa debido a fenomenos de resonancia. Un equilibrado correcto previene danos en el equipo bajo estas condiciones.

Leave a Reply

Your email address will not be published. Required fields are marked *