This is my first Fusion assignment. This assignment consists of three mini-assignments: CAD (Computer-Aided Design), Coding, and Robotics. We have a total of six weeks to complete all three mini-assignments, and I decided to begin with CAD.
For the CAD mini-assignment, we must demonstrate our understanding of these skills through this blog post:
- Sketching – drawing a 2 dimensional representation of a face in CAD
- Extruding – taking a sketch and turning it into a 3 dimensional object
- Assembly – taking multiple 3 dimensional parts and sticking them together
- Mechanical Drawings – converting your 3 dimensional parts and/or assembly into a 2 dimensional drawing
- BOM – Bill of Materials – creating a list of all items required to fabricate an assembled object
I decided to watch the Onshape Intro to CAD tutorials and some Youtube videos of my own, and then demonstrate these skills through making something simple in Onshape and explaining it with several sections in this blog post.
Skill 1: Sketching
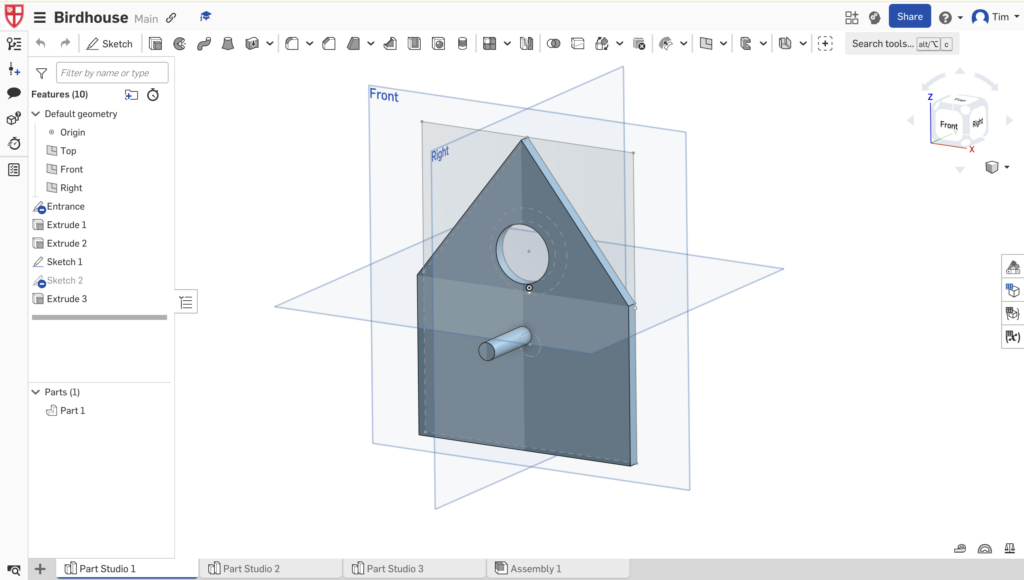
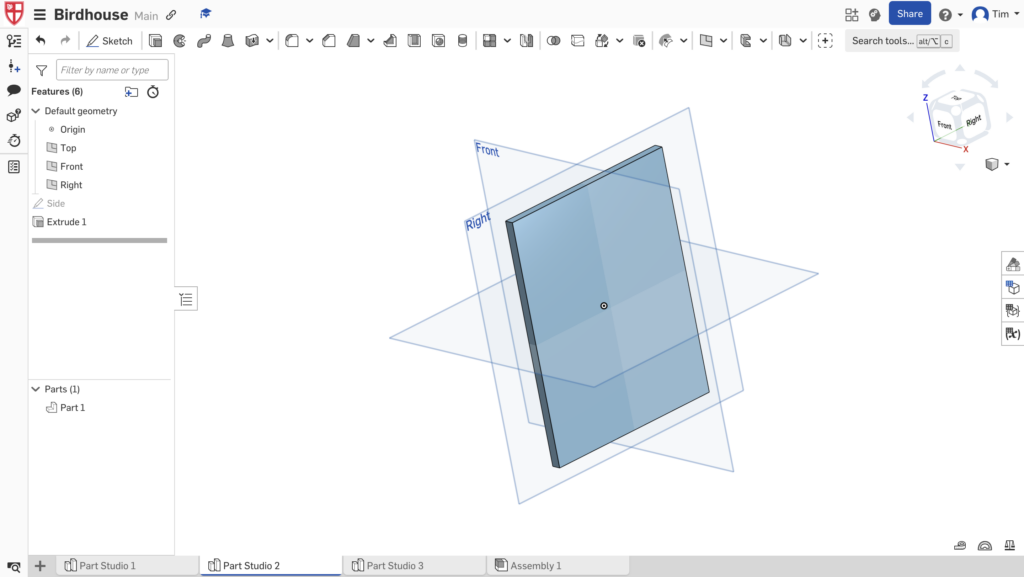
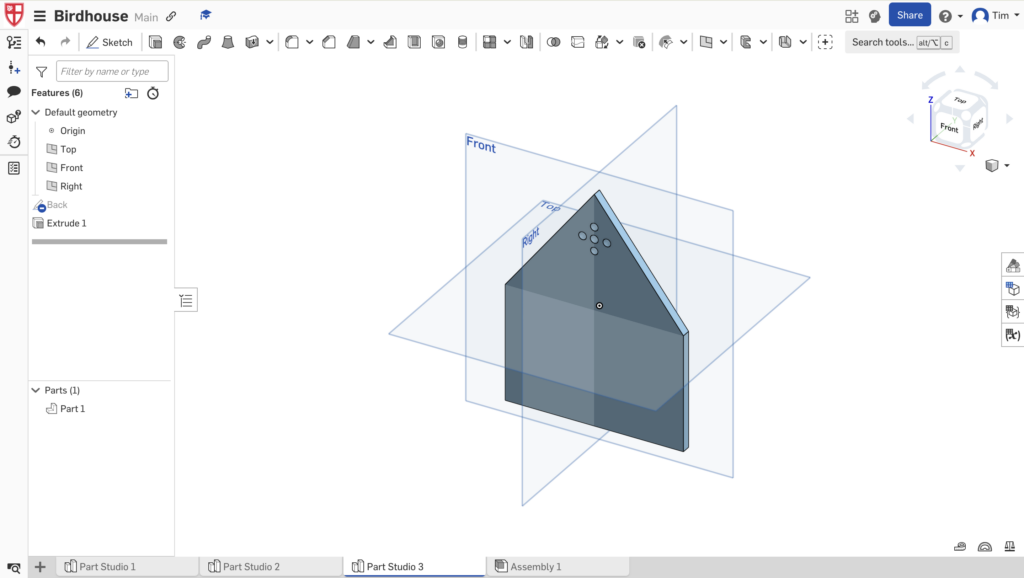
After finishing the tutorial, I settled on the idea of making a birdhouse since there aren’t any complex shapes, and the different parts give me a chance to demonstrate my Assembly skills in Part Studios. I’m using Part Studios to keep this project organized, as modeling multiple different parts in a single document can become confusing. I also decided to model each component, like the roof of the birdhouse, separately.
The first fundamental step in any CAD project is sketching. Sketching involves creating a 2D model of the faces of your 3D model, which can later be extruded to become parts. Below are some sketches I made during this process for the birdhouse, with captions describing what they represent.


Skill 2: Extruding
The next step was extruding my sketches to turn the 2D sketches into 3D models that I could later assemble. This was a straightforward step, as I simply had to select the sketch surface I wanted to extrude and extend it. Below are some screenshots of the finished extrusions based on my previous sketches.


Skill 3: Assembly
Now comes the assembly. This is the step where all my different parts from the previous sections are finally brought together and combined into the finished birdhouse. Below, I have included screenshots of this process with captions explaining each screenshot.


Skill 5/6: Mechanical Drawings + B.O.M
The last skill I have to demonstrate for this assignment is mechanical drawings and BOMs. Mechanical drawings are 2D representations of a 3D model that show the model from various angles, often including its dimensions. The BOM (Bill of Materials) is a list of materials or parts of a model, usually provided to the manufacturer for reference. I have included my BOM and mechanical drawings below, explaining the birdhouse’s dimensions, materials, and angles.

Leave a Reply