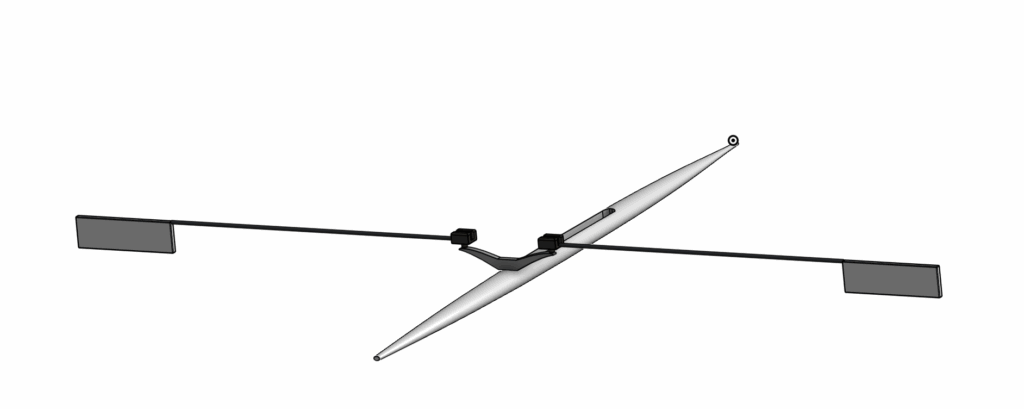
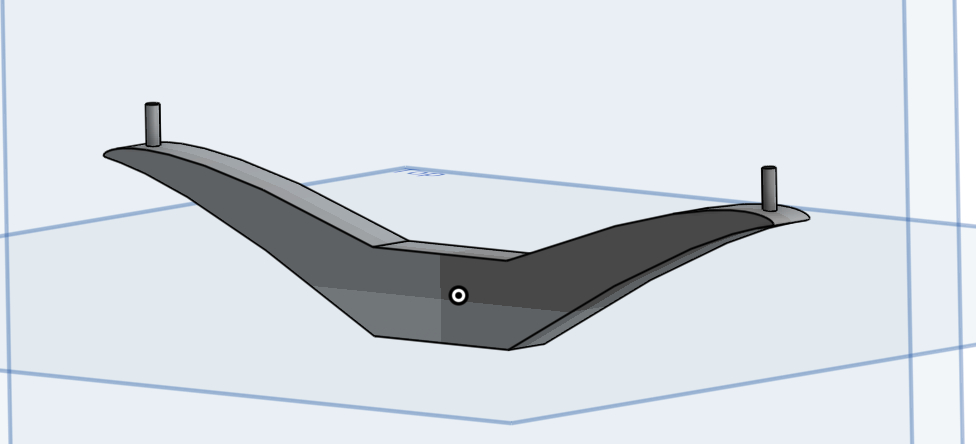
picture of the final product
Introduction:
In this project, I wanted to design a miniature of a rowing scull using Onshape. The goal of this assignment was to apply fundamental CAD skills like sketching, extruding, and assembling to a real world object. Rowing is a sport that requires precision, balance and symmetry, and I wanted to capture that same spirit in my CAD model.
I chose to replicate a rowing scull because I really enjoy doing the sport and it has been a major part of my life. Where I’ve been rowing for more than five years now and always admired the design of these boats. Additionally, I’ve always wanted to 3D print a model boat to display it on my desk, and this project felt like the perfect chance to turn that into a reality.
Sketching 2D Design
I began the design by first creating a part studio for the hull of the boat. Then I sketched the cross sections, also called stations (STA). And in boat designs, a station represents a specific slice along the boat’s length, and it’s almost like cutting the hull into thin vertical sections to see its internal shape at different points. Each cross-section shows the outline of the hull at that point, which helps to define the overall body curves from bow (the front of a rowing boat) to stern (the back of the boat).
Using the planes, I drew ellipses from STA_0 (the bow) to STA_90 (the stern) to present the gradual transitions in width and height.
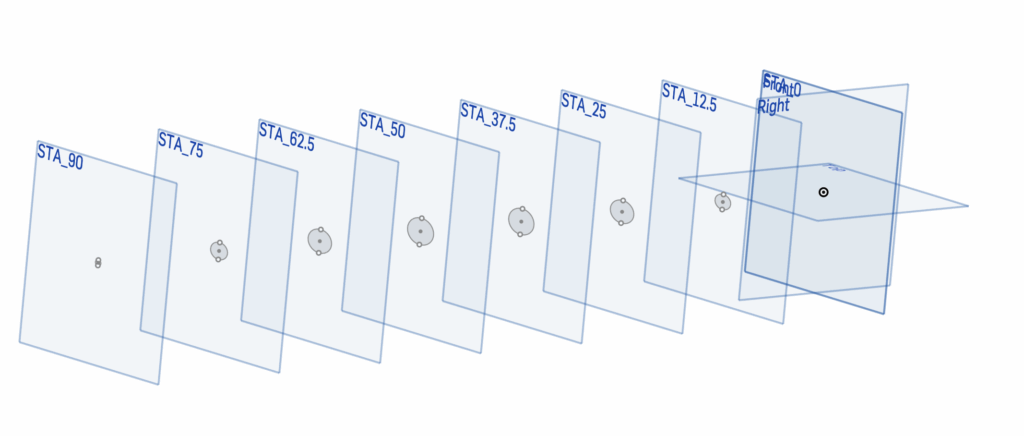
cross section sketches
Alongside the hull, I also made sketches for other parts like the rigger, oarlocks, and oars.
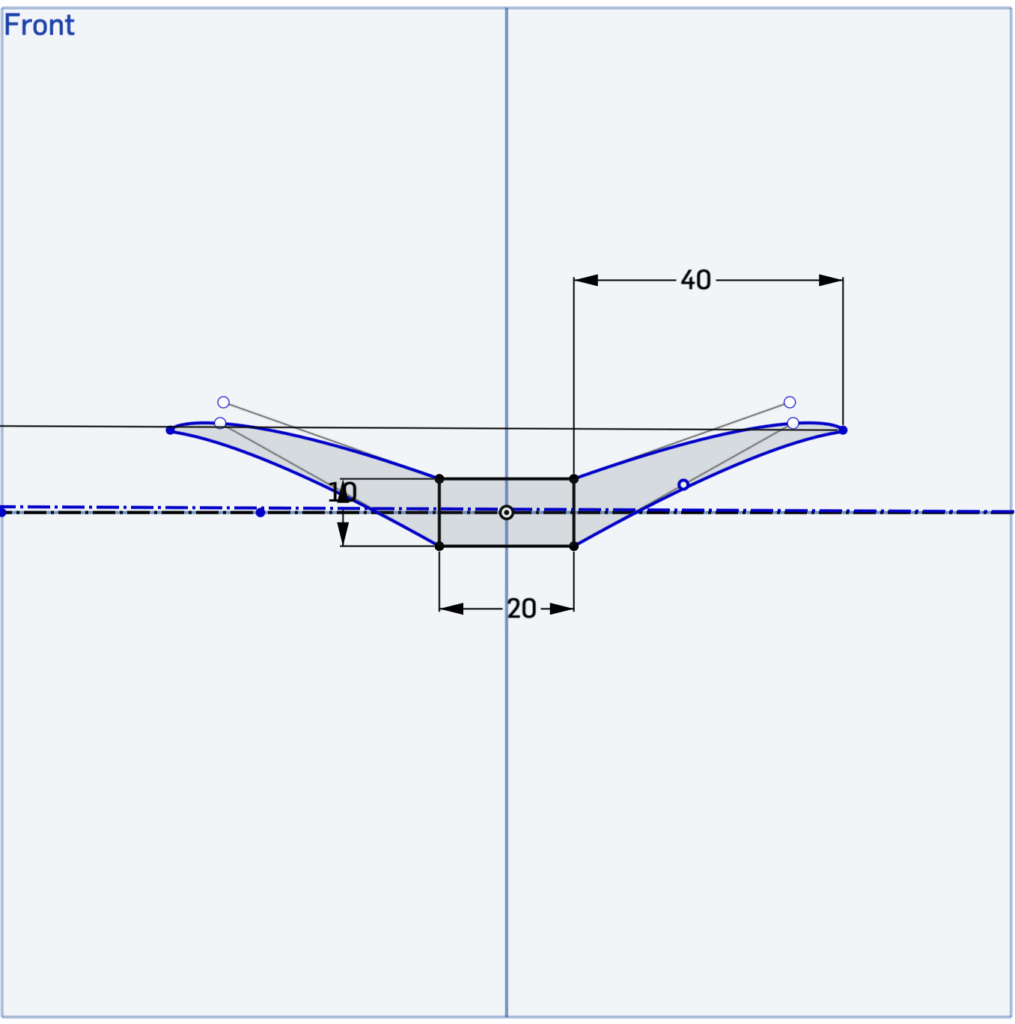
sketch of the rigger
Extrusion
Next, I used the loft and extrude tools to create a smooth 3D solid object between the sketches. I then created another sketch for the cockpit opening on the top surface and used the extrude cut tool to remove material.
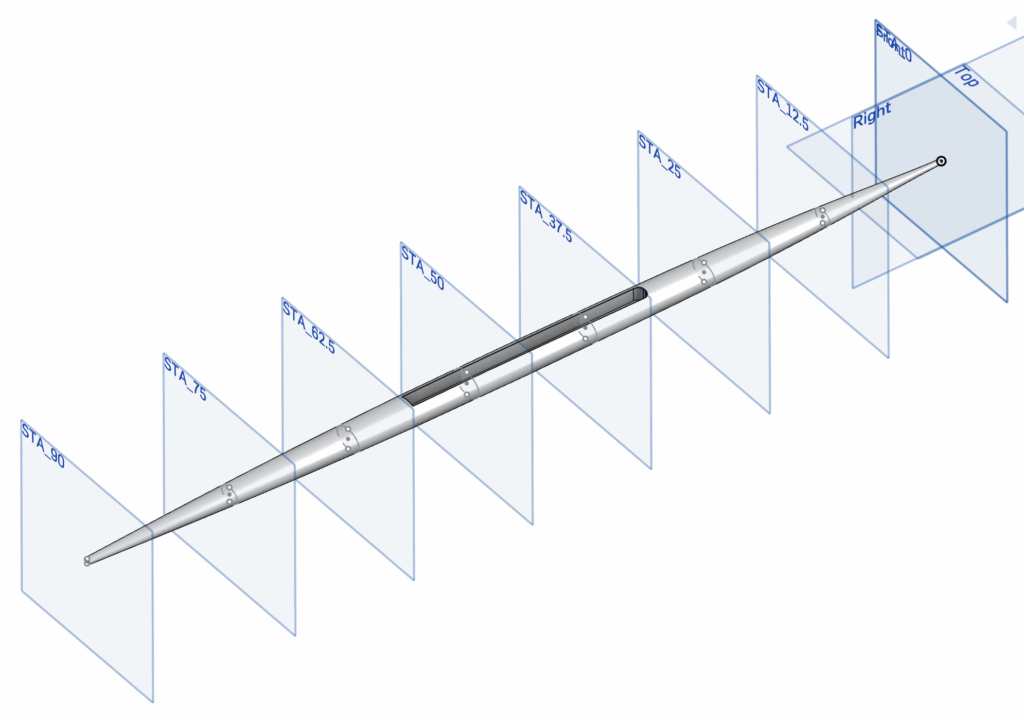
hull after loft and extrude
For other part studios, I also mainly used the extrusion tool to turn the sketch into a 3D object.
rigger after extrude

oarlock after extruding and applying fillets
Assembly
Once I’ve completed all individual parts in different studios, I created an assembly. I inserted the scull, rigger, oarlocks, and oars, then used fastened mates to secure all the parts to the boat. I also use the revolute mates when connecting the oarlock to the rigger to allow the oars to rotate around.
I also played around with the animation for a while, I wasn’t able to find any ways to animate the oars on both sides together, so instead I’ve just showcased what it looks like animating one oar.
Mechanical Drawings
After completing the assembly, I created a drawing to communicate my design. The drawing for the assembly included top, front, and isometric views.
For other individual parts, I included views from different angles and measurements.
Bill of materials (BOM)
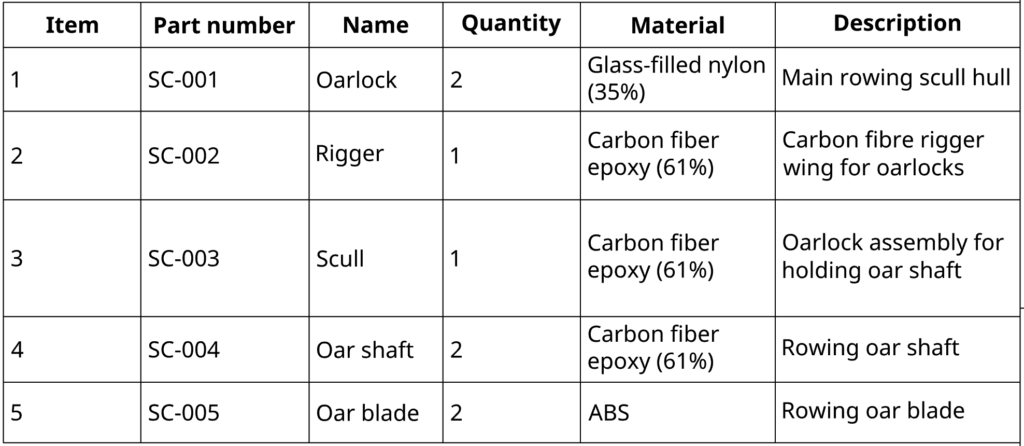
The BOM is quite straightforward, I just wanted to highlight on the choice of materials. For several parts I chose to use carbon fiber as it is lightweight, durable, and also because most boats in real life use this material to improve speed and balance.
Conclusion
I really enjoyed doing this assignment and create my own 3D model of a sculling boat. During the process, I definitely learned more about 3D designs and CAD skills.
Thanks for reading!
Leave a Reply to mcrompton Cancel reply