For these past weeks we were asked to deign a robotics project specifically for on an arduino circuit board, in order to learn and demonstrate the necessary skills for us to solve problems later on. The restrictions for this project were loose only being that the circuit had to move (not just LED’s flashing). After noting the restriction I began brainstorming what I would make. After a short period of time I decided to make an attempt at creating an ultrasonic sensor to servo garbage can (in simple terms an automatic garbage can). Before I start walking through my design I believe its necessary to highlight what is an arduino and how does it work.
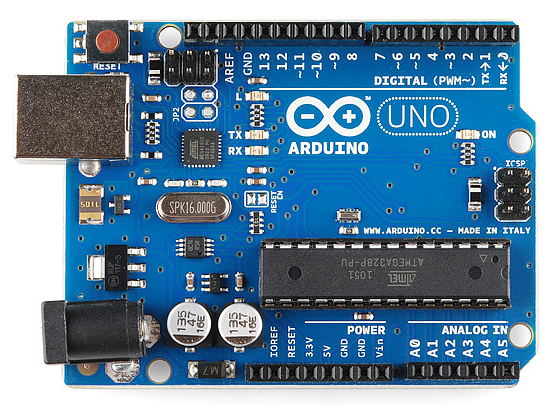
This is an arduino. Its a small, lightweight, and simple to learn computer board with its own coding software known as IDE (integrated development environment). I know the arduino seem’s to be quite complicated but once you break down the basics it ain’t so bad. The arduino comes with a set of trigger pins following numbers 1-10 used for setting actions to reactions (sensor to motor). More key pins included are the GND (ground or negative current) and the V pins (Positive voltage). Lastly are the analog pins which allow actions to occur depending on voltage.
Now that we’ve covered the basics let’s dive into my design. The automatic garbage can follows a simple system of (motion detected, send a signal through the arduino to rotate the servo). Ontop of making the circuit you would need to make a small garbage can 4x4x8 inches. To make the mechanism work you would also need to glue a popsicle stick to the end of the motor. Lastly you would need to have a one way hinge roof for the servo to turn and push open the bin.
Below I will provide an in depth analysis of my virtual design, the bill of materials table, and my code.
Video demonstration of the Digital design
https://drive.google.com/file/d/1bxwDjmitXwqXErmU3R2Nn9hj6OXWarq-/view?usp=sharing

Bill of materials table (for the circuit)
This is my code
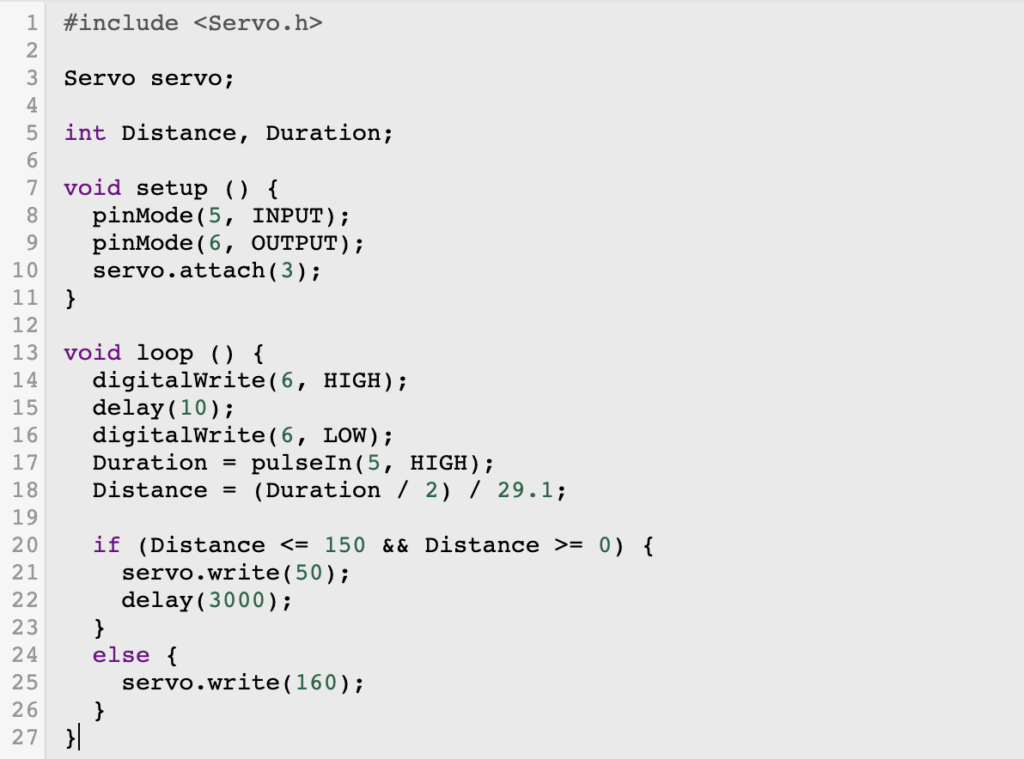
My code contains many common bits of beginner arduino however, it includes a separate library (Servo.h).
In simple terms a library is a pre written collection of code that allows functions to be carried out in a more simple and cohesive matter. This library in my circuit (Servo.h) allows the servo to connect to a digital pin and have it move certain angles. The inclusion of certain angles is why I used a servo instead of a motor. The distance and duration are set as variables to be altered to the users needs which in my case is at a medium distance of 50cm and a rate of holding up for 3 seconds The void setup allows for pins to be set for certain actions which in this case is the receiver and communicator for the sensor’s waves. The void loop function makes it so the actions in the code are constantly repeated as long as the GND and V pins receive sufficient power. The digital write’s and delay functions allow the receiving portion of the sensor and the communicating part to find the interval between actions and use the formula in the code to find a distance in centimeters. The if function sets that if the distance is less than 50 cm then the servo will be triggered to move 160 degrees.
Unfortunately due to a massive problem with the uploading of arduino code on a mac computer I was not able to make my final iteration.
Throughout this project I used no AI
Thank you for reading, have a great rest of your day!
Written by Will M
Leave a Reply