Project Goals
I started my project by researching different reasons why engineers are building robotic hands and what obstacles they face. I learned that a lot of research on robotic hands is done to advance human prosthetics. A major problem today is the expense of creating prosthetic limbs that replicate the wide range of human limb and hand movement. I thought that a way to fix the problem would be to create a robotic hand that could be attached to a prosthetic arm and could mimic actual hand movement by the parallel movement of the functioning opposite hand.
Project Constraints
There were many constraints that I had to face in terms of my project. Originally, I had built my robotic hand for surgeons or construction workers, but after a while I changed the goal of the hand to replace prosthetic limbs. This is because I had to either focus on the small movements that are made by a surgeon’s hand, which are more accurate than I was able to accomplish, or I required a lot of force and size within my robotic hand in order to aid transportation of large objects for construction workers. Realizing that this was not possible within my time frame of 2 and a half months, I swapped the purpose of my robotic hand to be for people using prosthetic limbs, as prosthetic limbs are currently very expensive and none of them are able to move. I plan to improve my project more over the summer by creating a larger and more advanced 5 fingered hand as it may allow me to swap back to my original goal of helping aid construction workers in lifting heavy objects.
Project Expectations
At first, I had a very large scope for my project. I planned to have 5 fingers with 3 moving pieces for each finger all powered by 16 servo motors that can move my hand with versatility and precision. As I started to realize the actual scope of my project, I had to come to the conclusion that this was not possible. The Arduino Uno I was using could only hold up to 5-6 servo motors at once due to how some of the PINs did not work for servo motors. After considering multiple alternatives, I settled on a much more simple design, which involved using only 3 fingers (a pointer finger, a ring finger and a thumb) with 1 moving piece for each finger. This was the best option I could create given the time constraints that I had. When building this design, success was defined by whether or not my hand would move all 3 of its fingers when my fingers move. This was my definition of success as I did not have the time to test how fast the fingers were moving or how powerful they were either.
Design Choices
In order to solve the problem of prosthetic limbs, I realized that I could work toward creating a cheap, robotic prosthetic that can move when the non-prosthetic arm is moved. After realizing that I was unable to create a full five fingered hand due to the scope and a problem with arduino UNO, I decided to create a singular robotic finger that would work similarly to a fully functional finger and I could create my robotic hand off of that in the future.
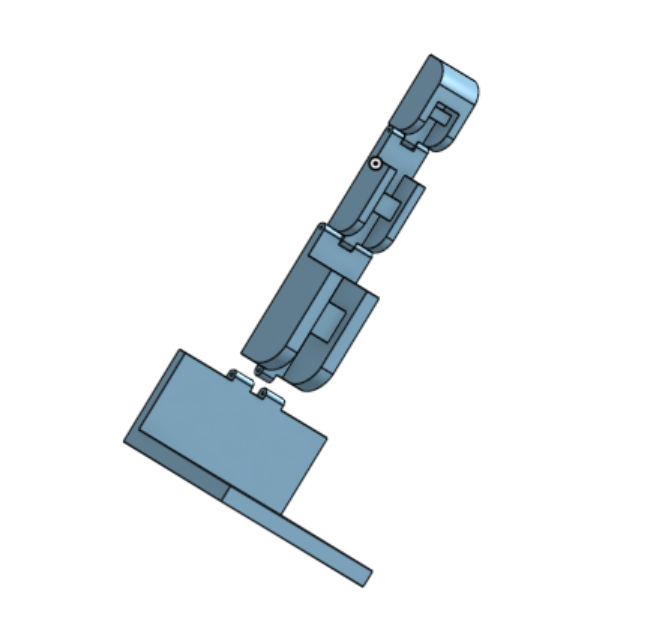
After creating this design, I realized that it would make more sense to instead print out a 3 fingered hand that would look much less like a human hand, but would be more useful. This would allow me to demonstrate grip strength and also would allow me to move multiple fingers instead of just one.
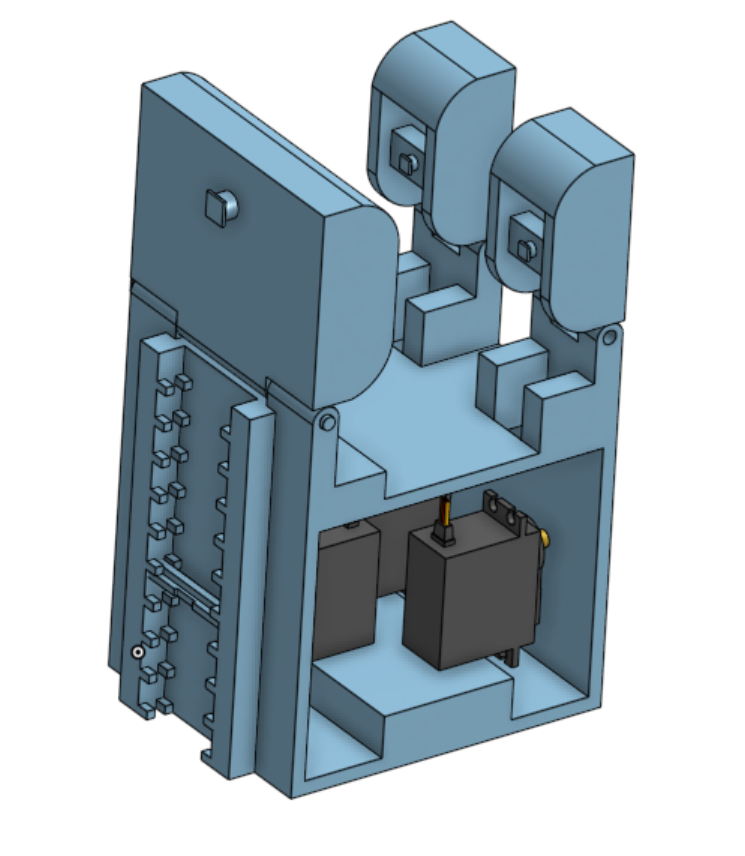
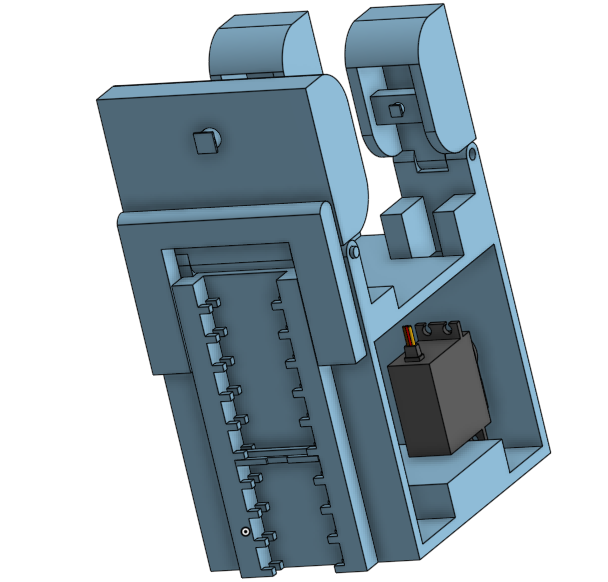
I also realized that if a servo motor were to push the finger inwards, there would need a force that is able to push back outwards on the hand in order to allow the hand to open back up again. For this, I created a ladder-like structure with a knob at the other end in order to have a working adjustable rubber band contraption that would allow my hand to stay opened at rest like a regular hand would.
Project Planning
I had many different plans for the project, which changed throughout the time of the course. At first, I believed that I required linear actuators in order to complete my project. Due to that, this was my initial planning document:
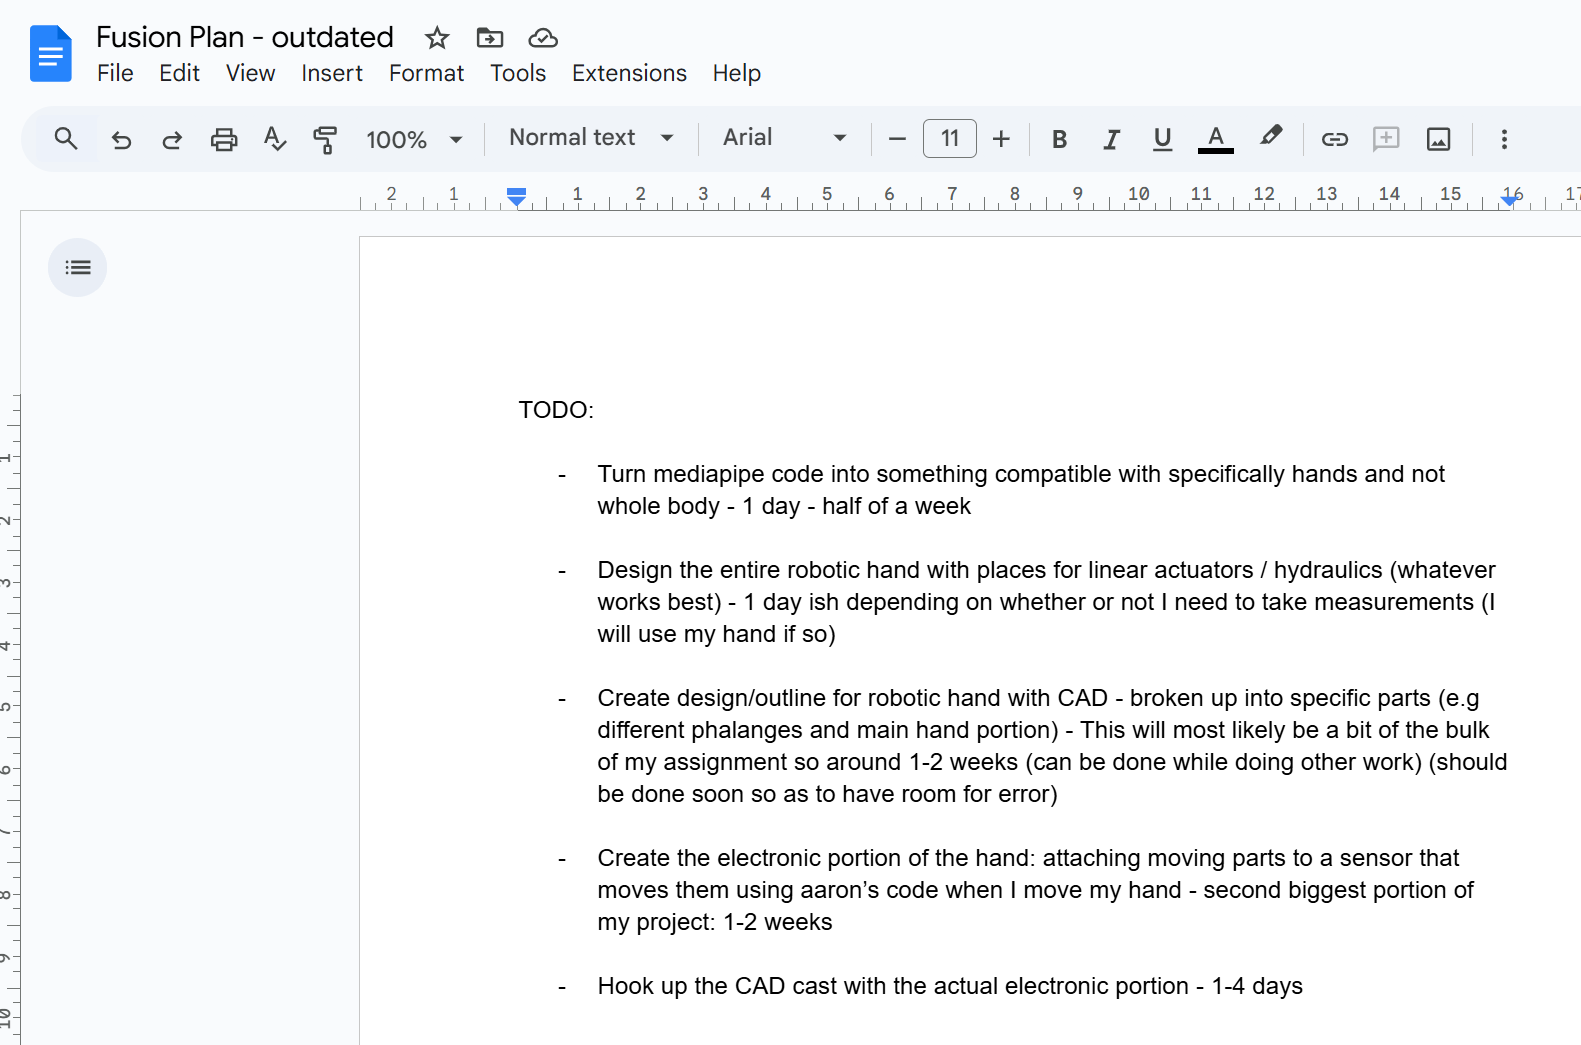
After realizing that this plan no longer worked for me, I labelled it as outdated and began to create more plans. Fusion has helped me realize the importance of planning and has opened my eyes to spending more time planning at the beginning of a project in order to set myself up for success.
Bill of Materials and Cost Analysis
Originally, I had planned to use many linear actuators to control the hand, but they ended up being around $80 per linear actuator. This would bring my final project to a much higher cost than I had wanted it to, so I swapped to servo motors. In the end, the robotic hand did not take too many materials to make. I required the arduino uno and wiring in order to control the servo motors, which ended up being around 40 dollars. I also required 3 servo motors which were around 30 dollars each, and 3D printer fluid. I also required my laptop in order to run the code, but I did not need to buy one so it is excluded from the pricing. Overall the bill came to about 150 Canadian dollars.
Testing and Validation
My solution is currently successful for what it is set out to do and is set to be successful within the future. The first time I first used my project, there were two problems with it that caused it not to work. The first problem was that when the large thumb portion of my hand was pulled fully downwards by the servo motor, the rubber bands, no matter how many I used, could not pull the thumb back. After realizing that this problem is due to how at 90 degrees the rubber band is no longer pulling upwards and is now pulling completely horizontally, I realized that this could be solved through leveraging the elastic band so it never hit 90 degrees.
This is a picture of the new piece that will be super glued to my project to stop the 90 degree rubber band problem.
The second problem related to the CAD design was that when the two fingers were pulled by the servo motors, the fingers would push into one another which would break the glue that kept the servo motors in place. The way I fixed this problem was that I put 2 wooden blocks above the servo motors, which jammed them into place and allowed much more pressure to be put on the fingers before they would break.
Code of Ethics
Ethical issues can arise when someone makes an attempt to profit off of someone else’s disabilities or insecurities. My product is ethical for two reasons. The first reason is that I am making an attempt to make the robotic prosthetic as cheap as possible, so as to not profit off of other people’s disability. The second reason why my project is ethical is because my aim is not to make money off of the invention, but am instead trying to help others.
Conclusions and Recommendations
To conclude, This project has increased my knowledge of Arduino, Python, CAD, trigonometry, vectors, and the anatomy of the human hand. I learned about the limits of Arduino uno, which has piqued my curiosity to explore how to hook up multiple Arduino units to accommodate more servo motors. I was able to use trigonometry in an applied context to solve a problem. In terms of next steps, I want to expand this project beyond just a hand and build a robotic arm that functions in conjunction with the robotic hand. I want to continue this project and further my learning about how robotics can facilitate the development of prosthetics.
Bibliography:
“Controlling LEDs Using Hand Gestures with ESP32 and Python.” Circuit Digest, 3 Mar. 2021, https://circuitdigest.com/microcontroller-projects/controlling-leds-using-hand-gestures-with-esp32-and-python.
u/W4LLF4C3. “Controlling Pneumatic Cylinders with a Raspberry Pi and Python.” Reddit, 27 Dec. 2019, https://www.reddit.com/r/robotics/comments/ehczj4/p_controlling_pneumatic_cylinders_with_a/.
“Building a Body Posture Analysis System Using MediaPipe.” LearnOpenCV, https://learnopencv.com/building-a-body-posture-analysis-system-using-mediapipe/. Accessed 3 June 2025.
Luca733. “Python-Based Hand Tracking Application.” Medium, 4 Oct. 2021, https://medium.com/@luca733/python-based-hand-tracking-application-c3bab8481146.
“Train a Pose Project.” Teachable Machine, Google, https://teachablemachine.withgoogle.com/train/pose. Accessed 3 June 2025.
“3D Hand Pose Estimation Using MediaPipe and TensorFlow.js.” TensorFlow Blog, 2 Nov. 2021, https://blog.tensorflow.org/2021/11/3D-handpose.html.
“Hand Gesture Controlled LED Using ESP32 and OpenCV.” YouTube, uploaded by Techiesms, 18 Jan. 2021, https://www.youtube.com/watch?v=iXNNjtK5hp8.
Arduino code:
https://docs.google.com/document/d/1p2Qf1lyz8Fab5214KoG7QLChJVPBCngFVJQby02jCPQ/edit?usp=sharing
Python code:
https://docs.google.com/document/d/14TyfRYLq0sna5mS7NBVw_M4zcLW48MPM-TAPUhYiwvg/edit?usp=sharing
Note that the code provided will not work without downloading the cvzone python library along with having a working arduino.
Leave a Reply