Welcome to my second blog!

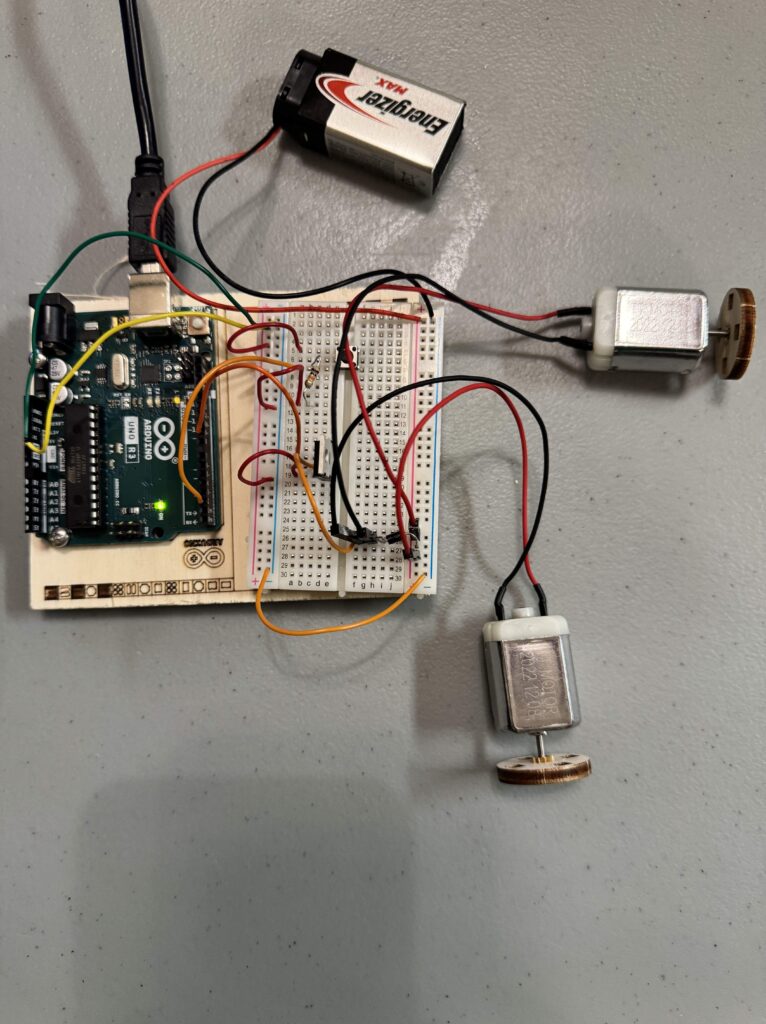
For my second project of the year, I have a version of Project 9 from the Arduino Uno Starter Kit. I originally had way bigger hopes for this, combining it with my third blog (upcoming) to somehow create a remote-controlled car. Unfortunately, due to time constraints, I wasn’t able to make that possible. However, I have modified the booklet version of this project to include 2 motors that are connected in parallel with a diode.
Components:
– Breadboard – Arduino Uno
– Jumper Wires – 2 DC Motors
– Transistor – Diode
– 2 battery snaps – Pushbutton
– Resistor – USB cable
– 9V Battery – 2 Wooden wheels (in the kit)
– Wooden base

This is a diagram of said project that I got from the book, where you can see how both the 9V battery and the 5V power source from the Arduino Uno circuit powers the 2 motors (the circuit is connected to my computer). I modified this by adding a second DC motor in parallel.

As you can see drawn in red, this is exactly how I added the second DC motor in parallel to modify the motor. The preliminary reason why I wanted to add a second motor was for another wheel that was supposed to be for my remote-controlled car.
This is the code I used to run the circuit. I first declare the variables and then use void setup to as the name suggests, set up the code. This string of code only runs once. I then proceed to use void loop to make the code run indefinitely, where I put the code that makes the motors run when the button is pressed, and where the code that stops the motors is put.

I have zero previous experience with Arduino in the past, however I feel like I have learned the basics of coding with Arduino but I personally struggled with the circuits the most. My understanding of the transistors is still shallow and I hope by using more Arduino parts in the future I can learn to use Arduino at a higher level.
If you want to see a video of the DC Motors working, you can view that here.
Leave a Reply