When I started thinking of this project, the first thing that I thought about was making a bottle container for any liquid. However, when I started making the cylinders, I was thinking about why not make it interesting. Therefore, I decided to make an engine, to be specific, not the whole engine with all the details, whcih might be costing months of time, I did the pumping cylinders part.
Part 1
This is the first part of the whole thing, it is just basically creating circles and making extrudes.
Part 2
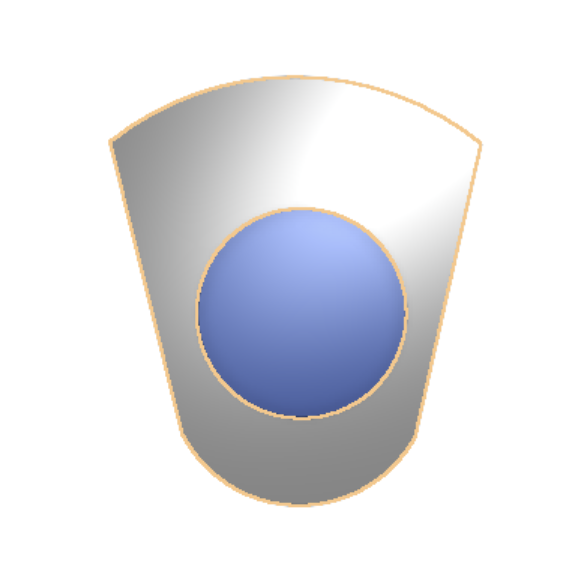
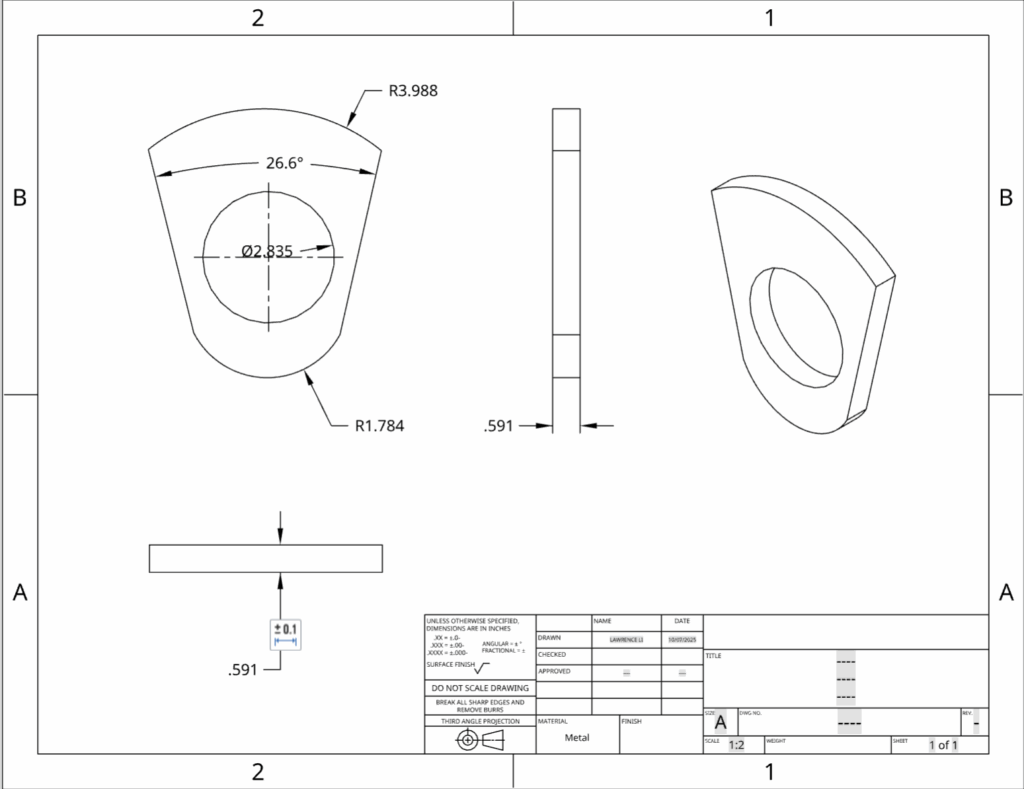
This is another part using the tool of three point arc to make it symmetrical towards the original cylinder.
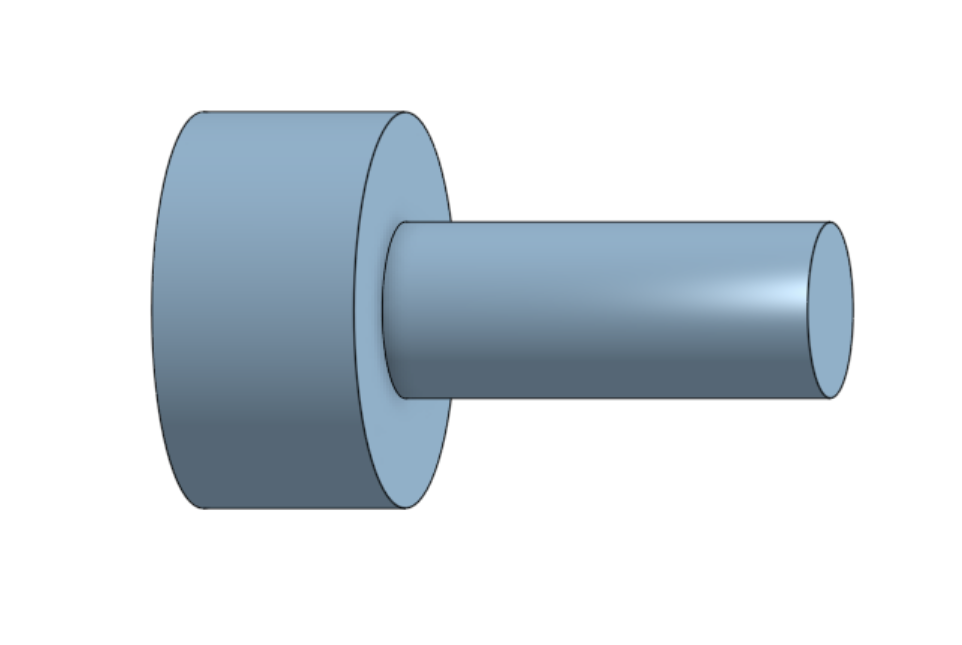
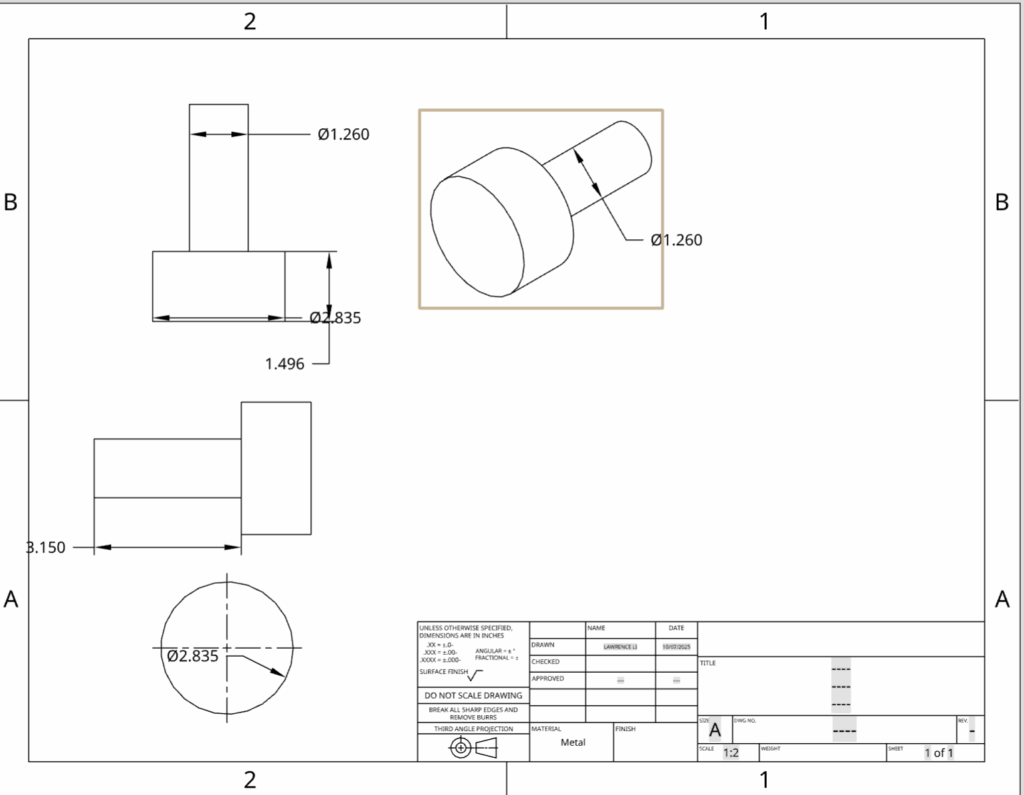
Part 3
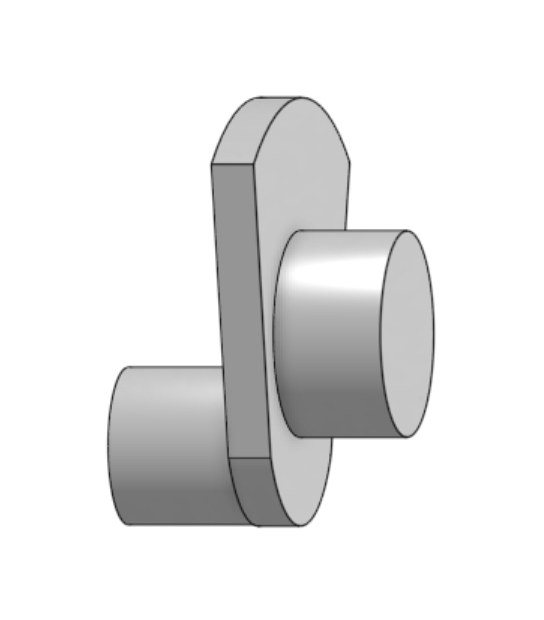
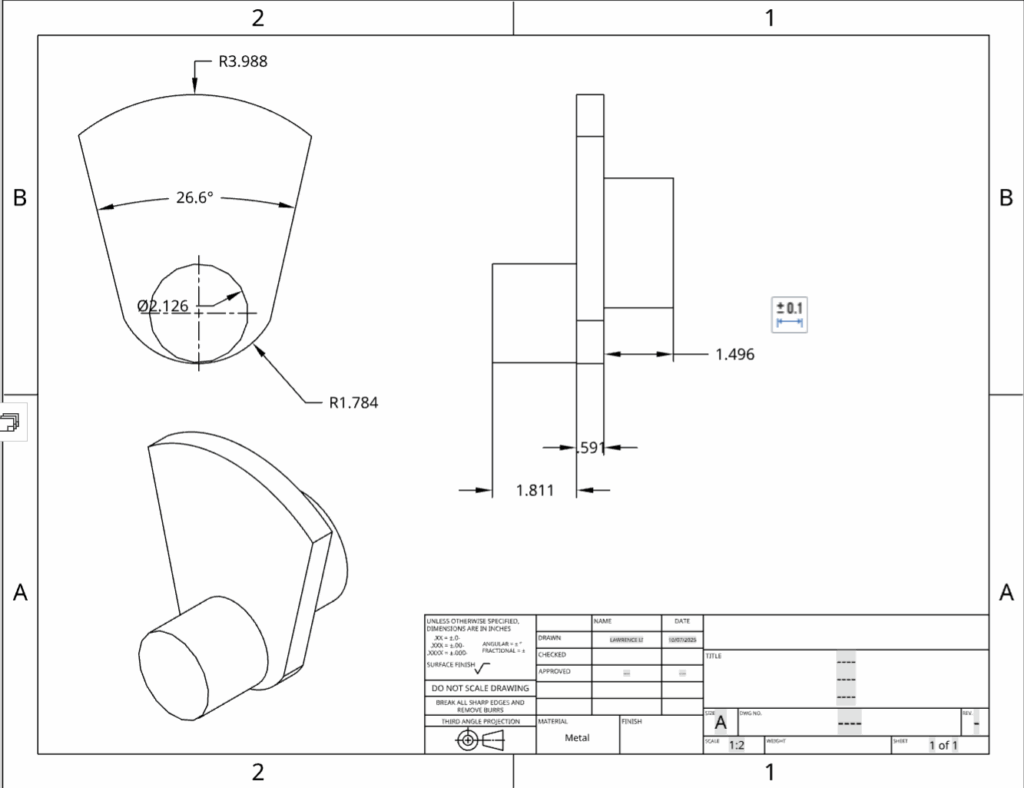
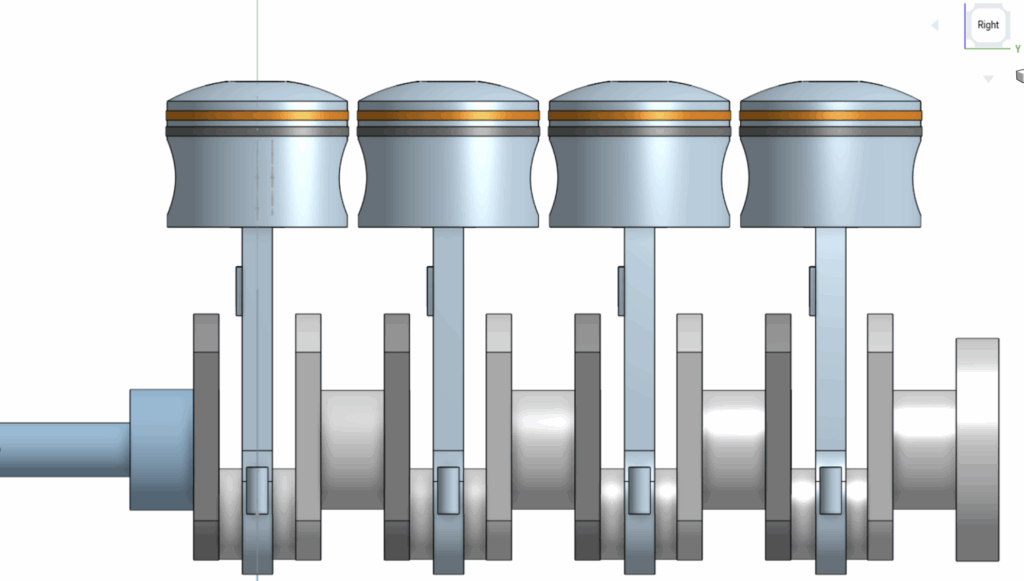
This is the last part of the body which simply includes two cylinders and the 3 dimension shape that we made on the second part.This part is also the main rotation part of the engine that pumps the pistons up and down.
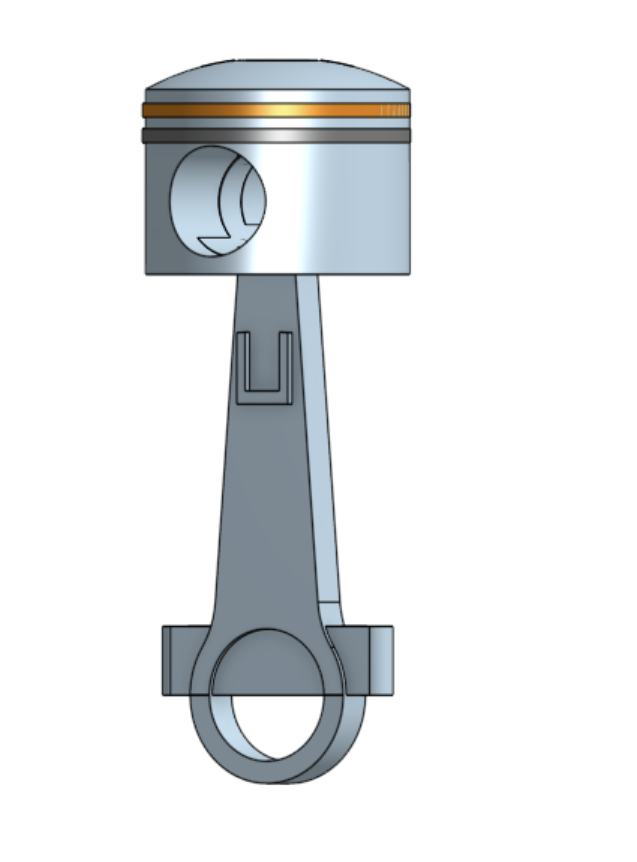
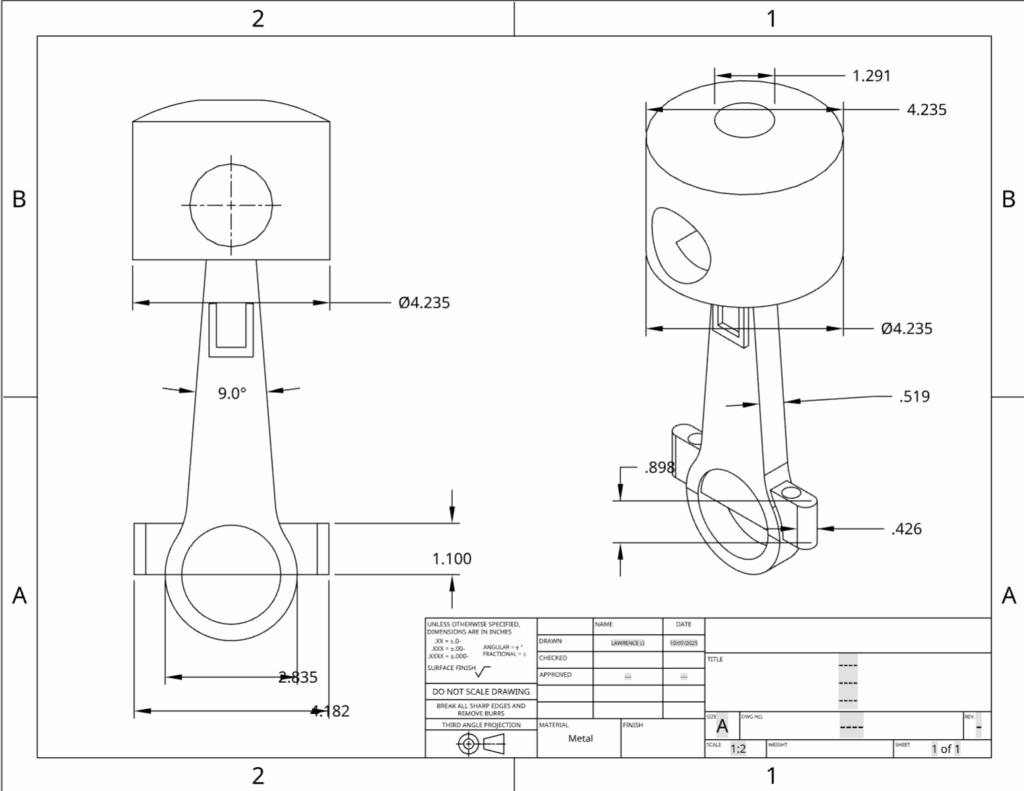
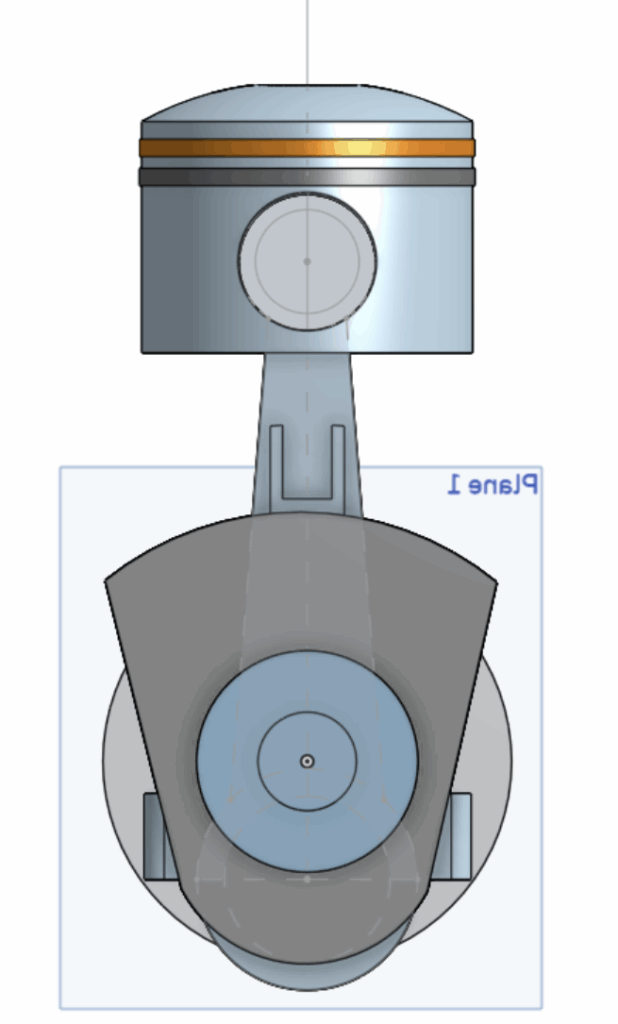
This is the main part of the project, which is called the pistons, they are the things that goes up and down. I started this part by using the diameter of the cylinder in part 3 to create a circle. Then I created another circle slightly smaller and connected them together. Then used the extrude tool to make it 3d. Lastly using the revolve tool to make the top part.
This is the whole thing connected together
Another view…
The interaction of the whole project will be including numerous ratational parts. First of all, between part 1 and part2 , there should be flexible and ratational. In this case, it can be spinning up and downto create energy. Moreover, the part in part3 that is letting the piston part hold should also be rotational in order to push the piston up. Lastly. the connection point between the part2s and part3s should also be rotational just to make sure the piston can be pushed.
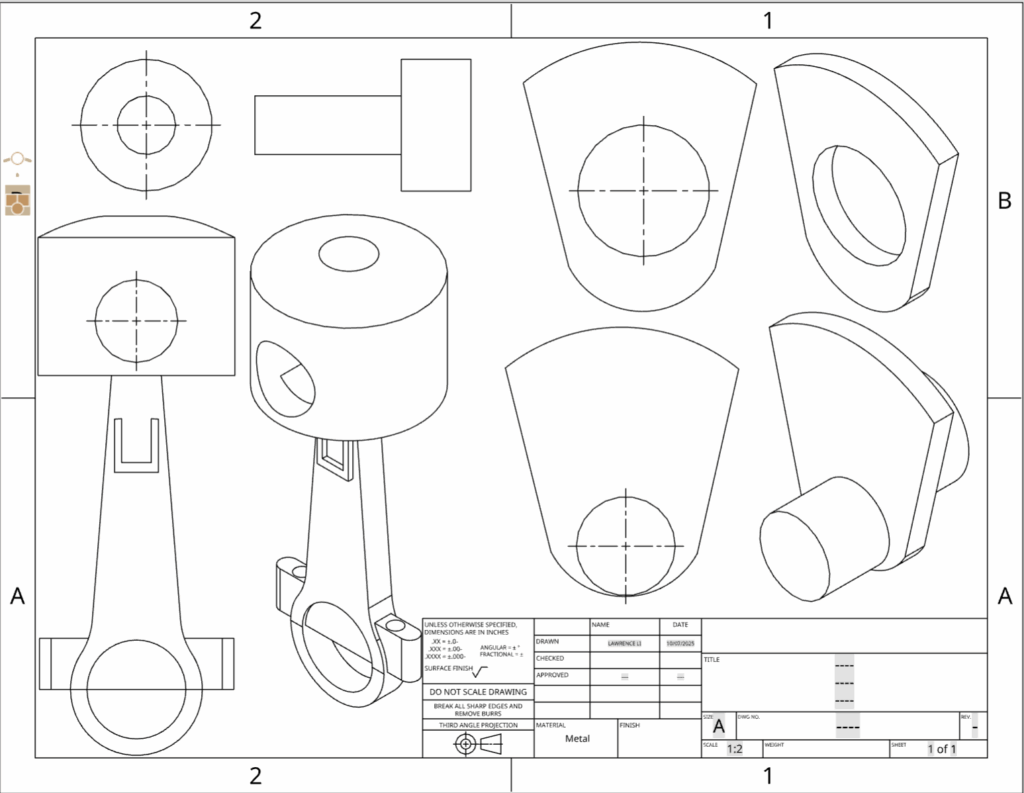
The drawing of the project
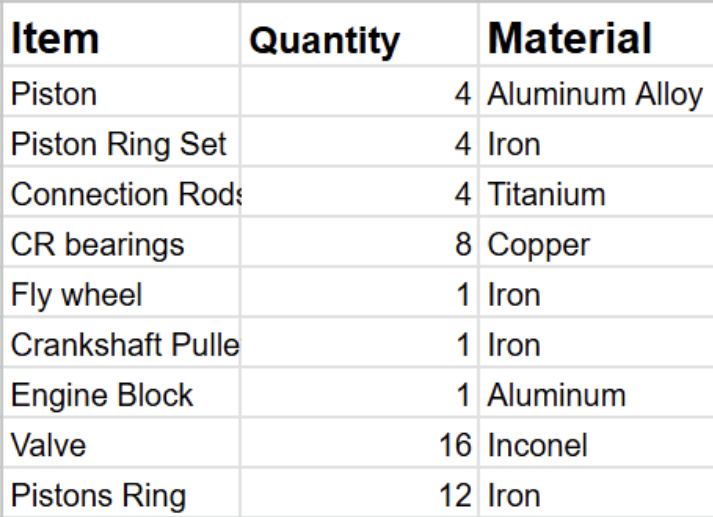
The total materials needed:
Revolute mate and fastened mate
In this part I used a fastened mate in order to lock the air outlet part which is the coloured circular ring to the piston since I used different parts for them. Moreover, I used revolute mate to show how the rotational parts actually works.
CAD url: engine | Assembly 1
Conclusion:
This is the first 3D model creating project, I thought I did pretty well on the logic of the whole project. However, I think it will be best if I can add more details to the pistons, or even make it more complicated such as a whole engine of a car.
Leave a Reply