Aside from the small workshop in grade 9, I have never encountered Arduino before and this is my first time working with it. Luckily the set I was given came with a manual that taught me the parts, and gave me different projects to do.
I decided to work on this digital hourglass project.
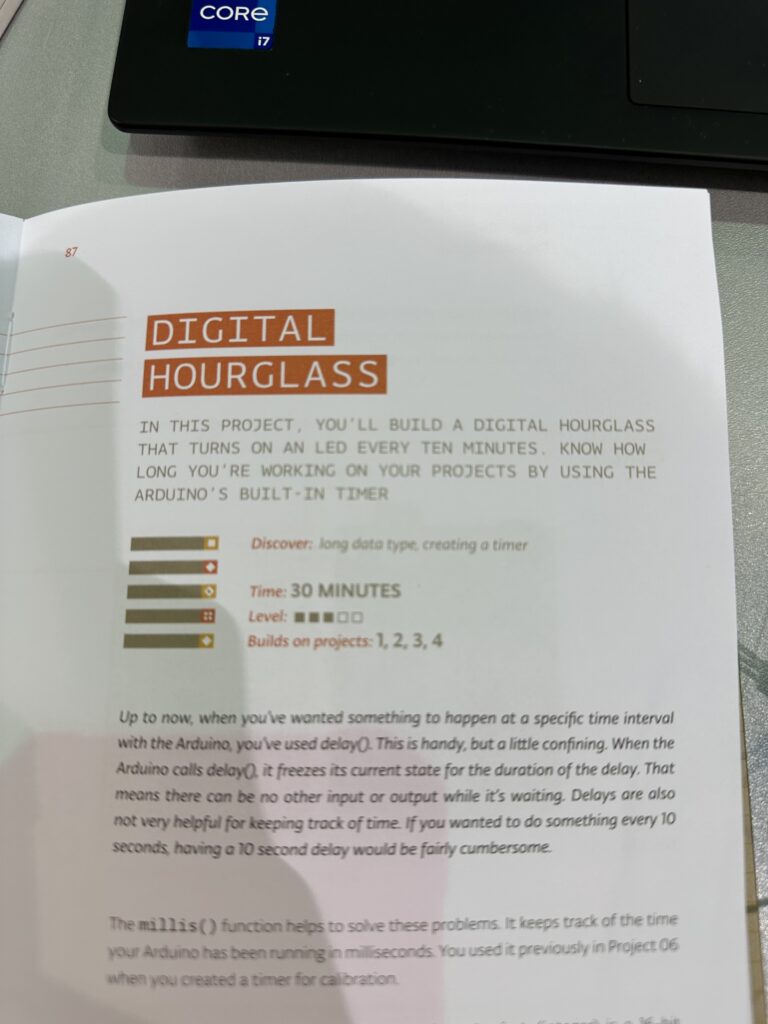
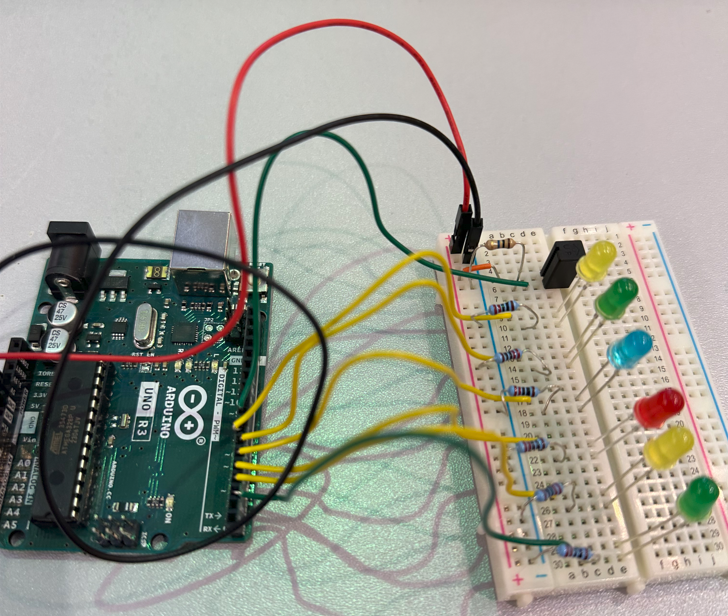
The first step was to connect power and ground to the breadboard
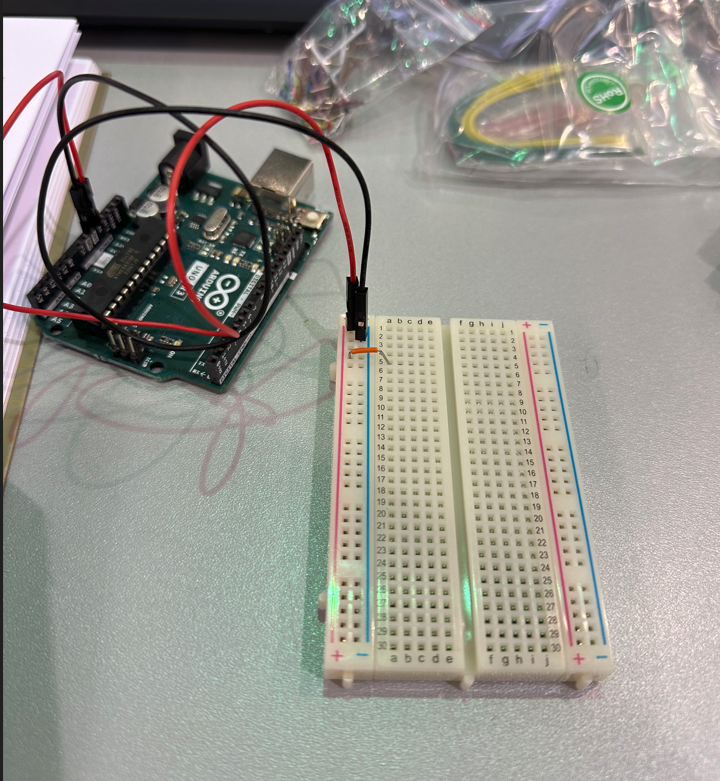
Next was to add the resistors needed
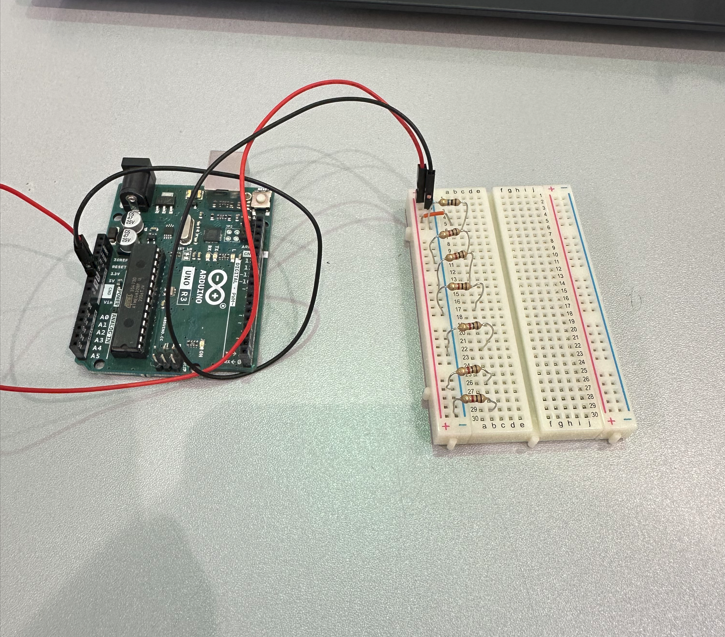
Next we connect the rest of the wires that would create a circut through the led lights and resistors.
Then the led lights.
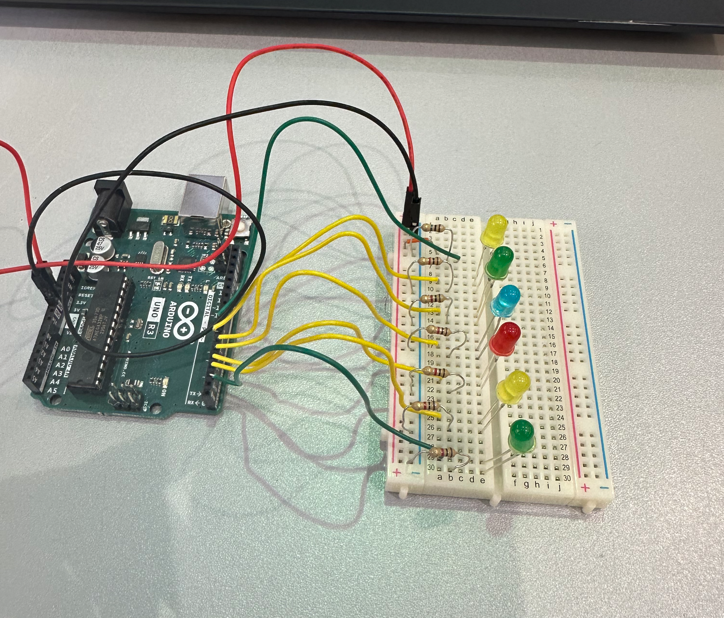
However, at this point I realized I was using the wrong resistors. I had to search online to match the right 220ohm resistors. This then resulted in a torturing process of removing all of the resistors and replacing them.
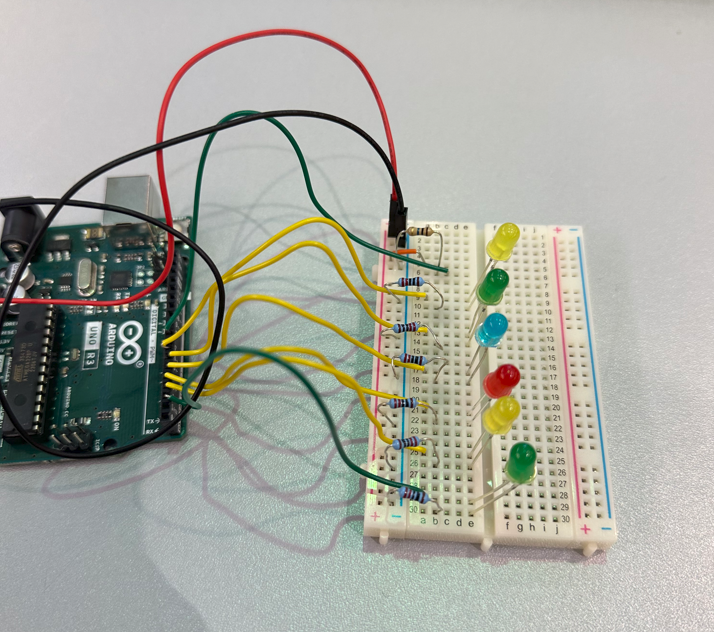
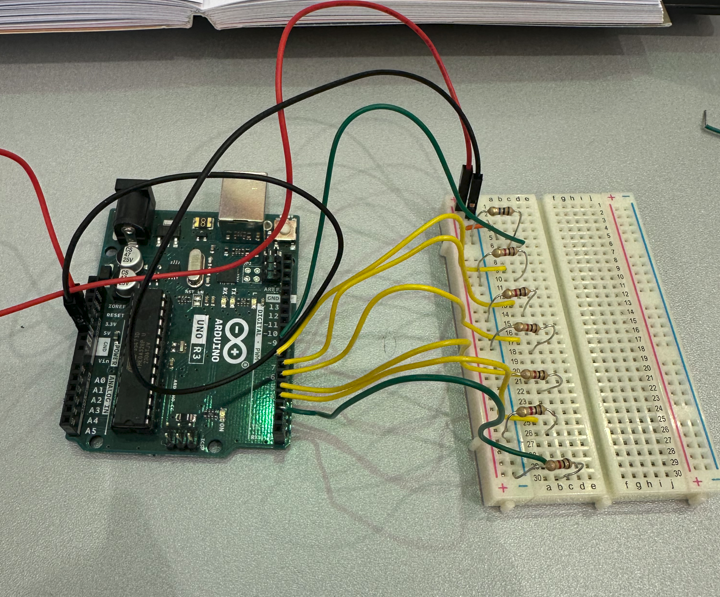
The last part was to add a tilt switch as an addiontal function of turning off the timer.
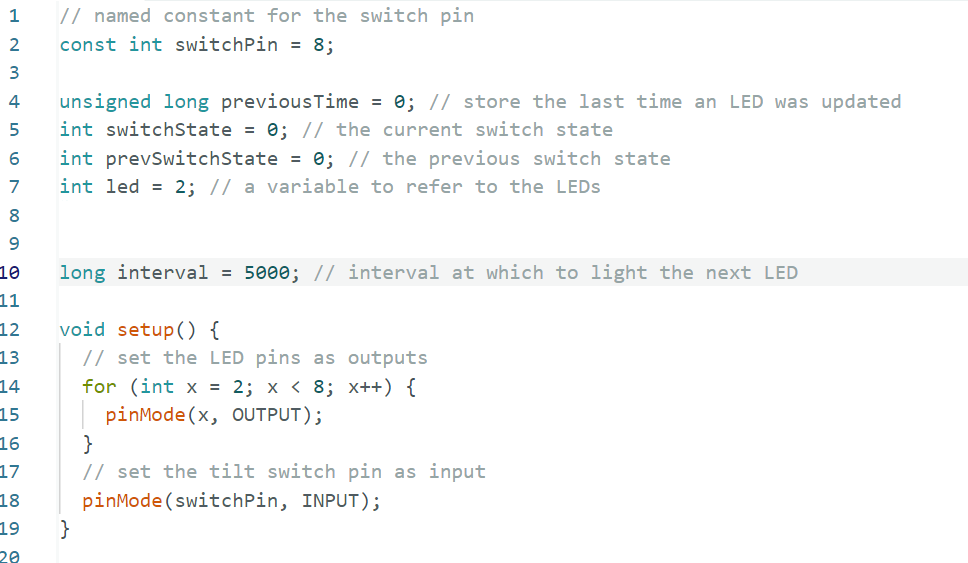
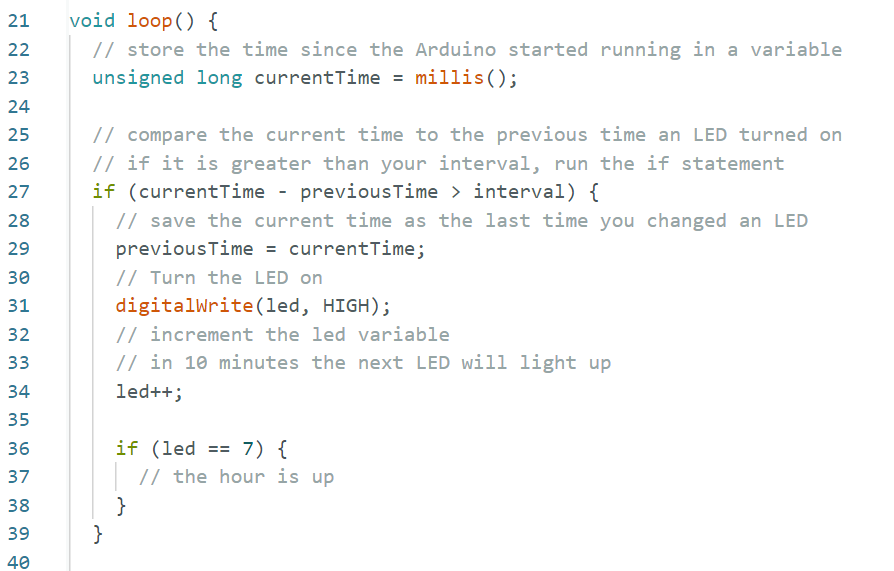
After finishing the physical project, we move into the digital space of coding the arduino block. The manual provided a nice line by line direction of what the code’s purpose. Here’s the general flow.
- Setup
- Set inputs and outputs to run the circut
- Set inputs and outputs to run the circut
- Loop Begins
- Store
currentTime = millis()
- Store
- (Decision)
- Measure using the built in timer to tell if the time interval is up
- Yes → Proceed to turn on the next LED
- No → Skip to Step 6
- Turn on Current LED
- Reset the time interval
- Reset the time interval
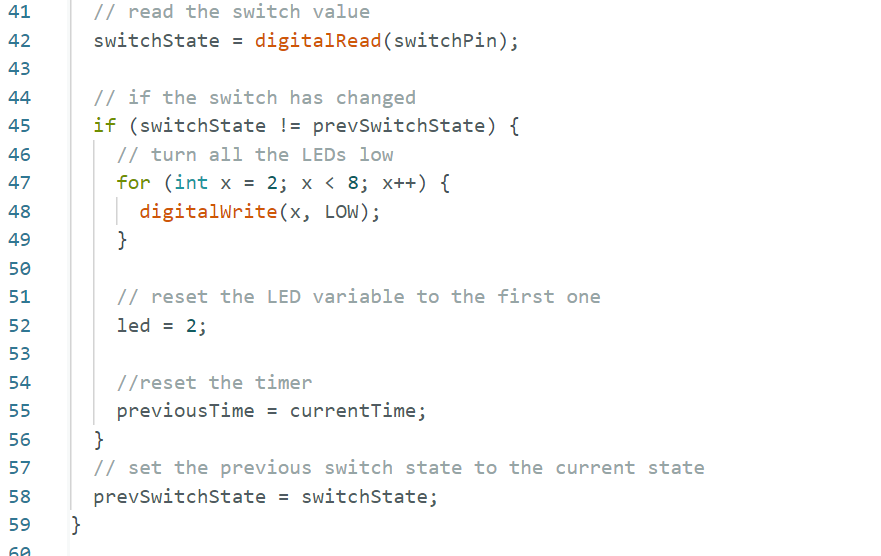
- Read Switch State
Tell if the switch is getting tilted
- (Decision)
- If tilting then urn off all LEDs
- Reset everything else
- If not then Continue
- If tilting then urn off all LEDs
Here’s the code in action.
Leave a Reply