As this is my very first experience with Arduino, I chose to follow a tutorial provided by the Arduino Projects Book(linked below) to create the “Magic 8 Ball”, or “Crystal Ball”,

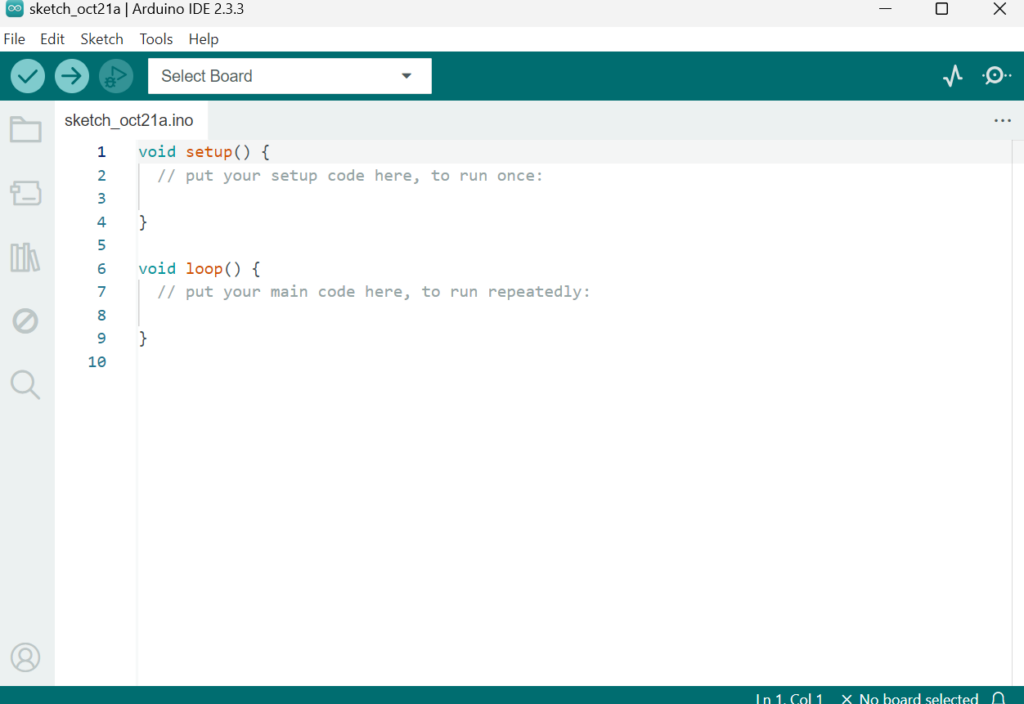
The very first step was to download software that acts as an IDE(Integrated Development Environment) that assists us in programming the Arduino UNO.
Plugging in the Arduino provides power alongside the programmed instructions.

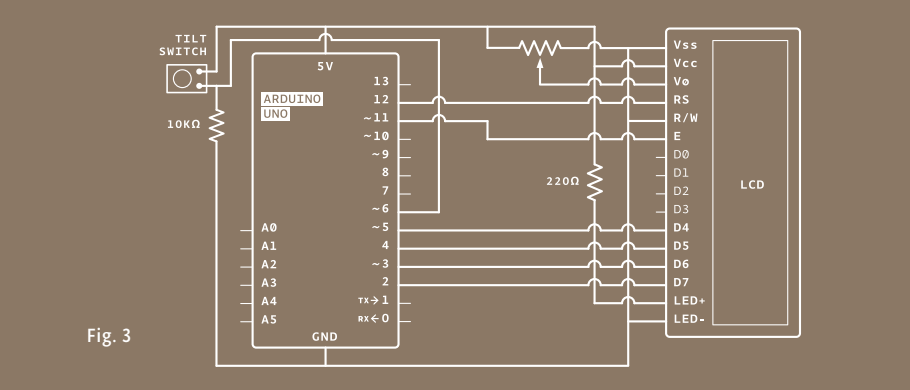
The next step was to create a the circuit for the Arduino. The graphic provides a birdseye view of all components.
One hurdle I had to overcome here was the incorrect placement of the tilt switch and potentiometer. I found that following the graphic provided by the book would lead to certain pins not fitting inside of the breadboard and had to figure out workarounds using the crevice in the breadboard.
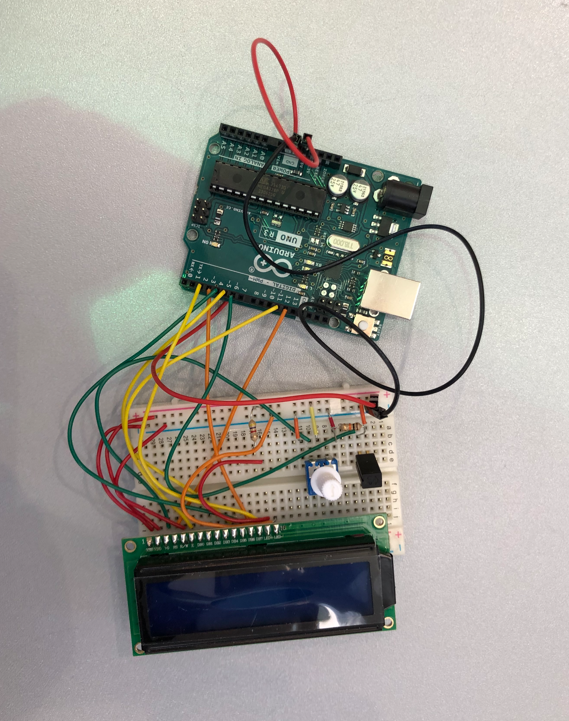
Although it may looking daunting, I found that slowly working wire by wire was very successful. After a while, I got into the hang of things and wrapped things up. The completed project looks a little like this.

Lastly, It was time to program the Arduino. With the help of the provided book(pdf link below), I found this task to be a refreshing break from the wire by wire approach I used before.
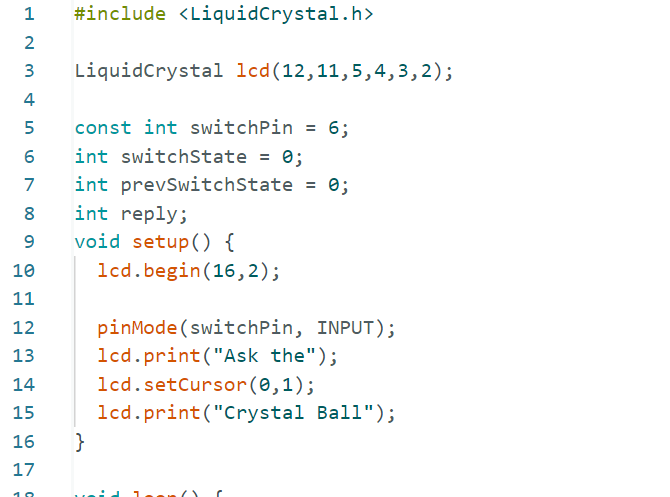
Luckily for me, I have some previous experience with C++ and found myself familiar with the basics. The introduction of the new library <LiquidCrystal.h> proved to be a bit of a problem. After reading through the code snippets provided by the book, I believed that I grasped enough to write this code.
Code used to initialize LCD and provide first contact with user as well as declare variables used in the future.

And voila a fully functioning crystal ball complete with a tilt switch and potentiometer.
TAKEAWAYS:
I believe that this was an excellent introduction into the world of robotics, mainly the facet of Arduino and it’s applications throughout day to day life. I would have hoped to had created something that solved a problem of my own, or something that I can apply to my own life however time and skill constraints were difficult to overcome.
I was able to use a breadboard and manually connect such a large number of wires, almost as if I were building the project from basic building blocks provided. It reminds me of the scratch programming I did when in 3rd grade, and how I found it fascinating how such small steps could amount to such a grand final project.
Leave a Reply