For my Cad project, I’ve chosen to create a LEGO tire complete with both rims and tread.
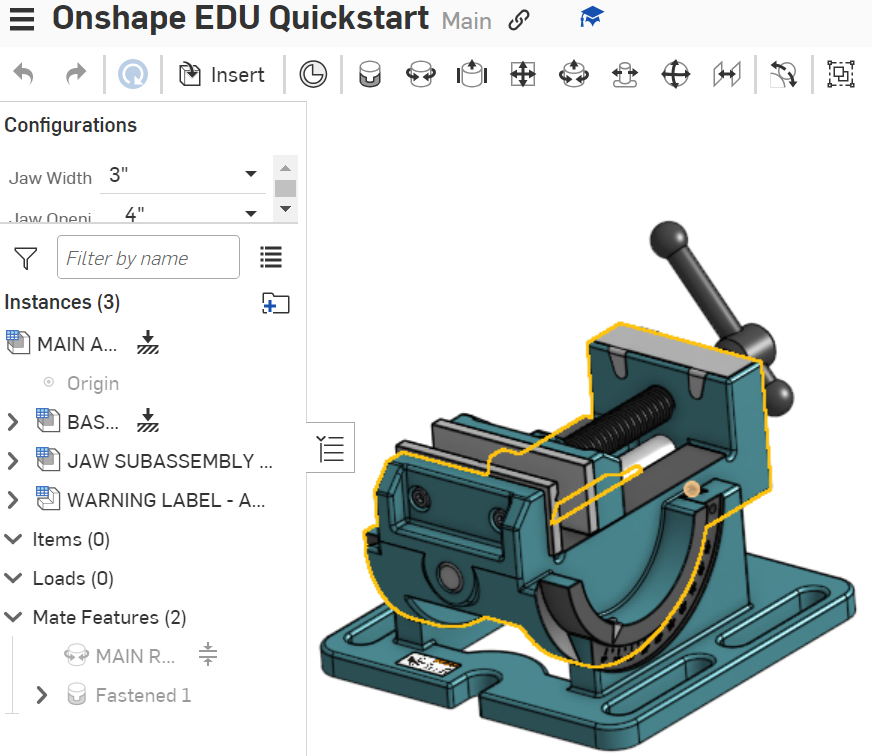
Firstly, I went through part of the Onshape tutorial to teach me the basics of camera movement, sketching, and extruding as well as how to create a mechanical drawing and a bill of materials.
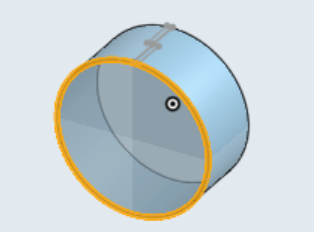
Then, I began to create the tire treads. I started by sketching a circle and extruding it to create the overall shape of the tire
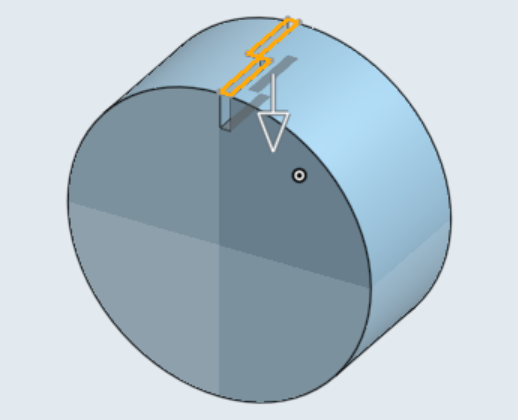
Then I sketched and extruded rectangles downward into the cylinder to create the base texture of the tire.
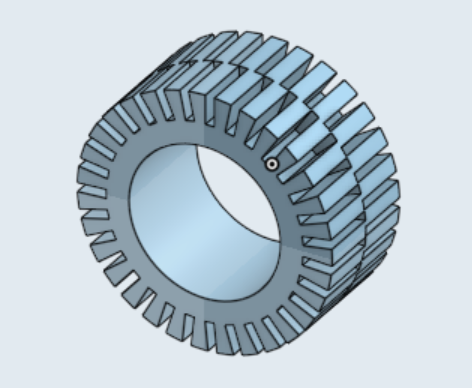
Lastly, I used a circular pattern to tile the rectangle across the cylinder to create the tread. I also hollowed out cylinder to create space for the rim.
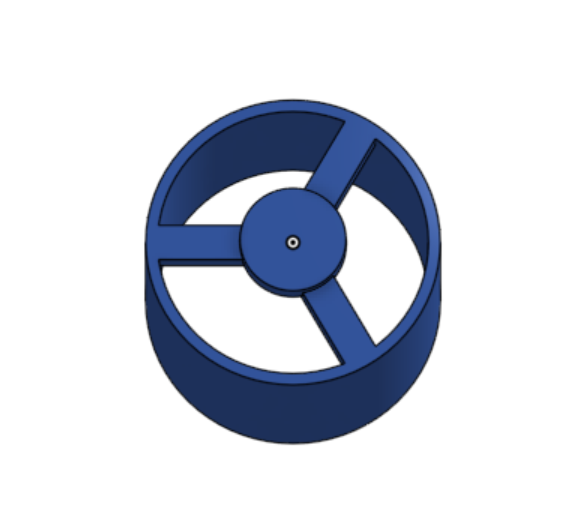
Lastly, I created a rim consisting of a hollowed out cylinder, a circle, and one rectangle tiled around the innermost circle 3 times. The rectangles were slanted downward to create the rim-like effect.
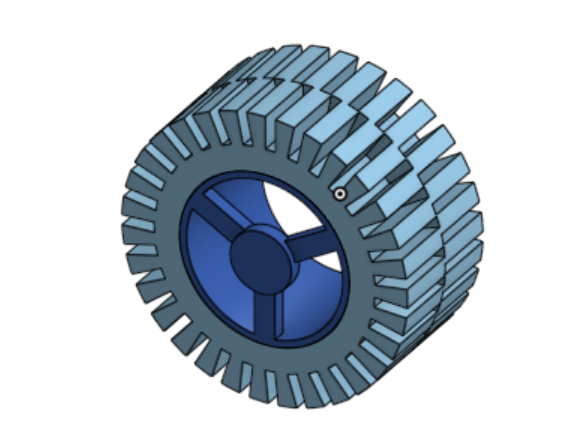
For assembly, I used a slider mate to animate the object coming together as an actual rim and tire would. The assembled project looks like this.
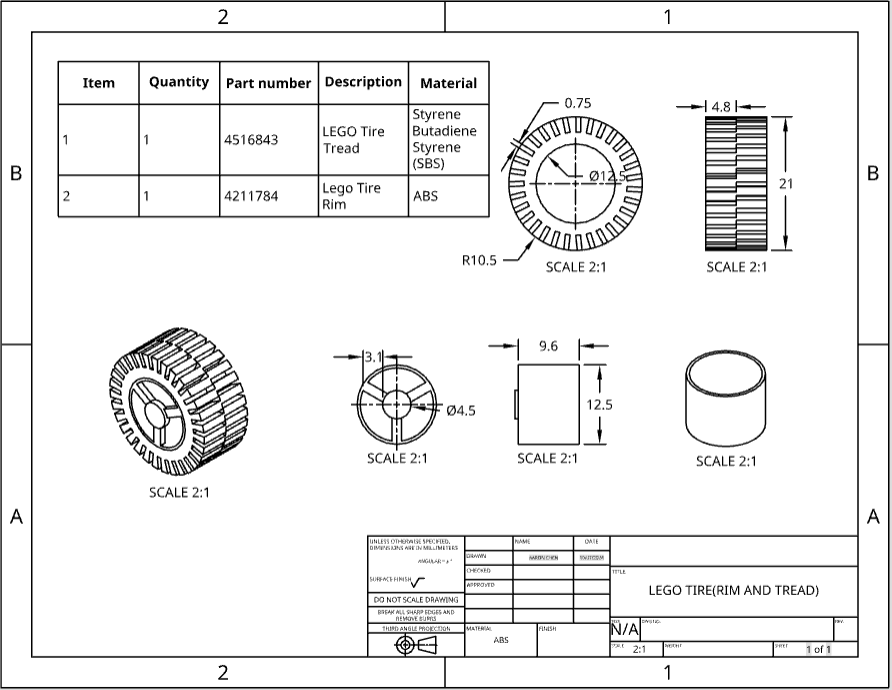
Finally, To wrap up the project, I used Onshape’s built in functions to create a mechanical drawing including measurements and multiple angles of each part, a fully assembled isometric view, and a bill of materials used.
Leave a Reply